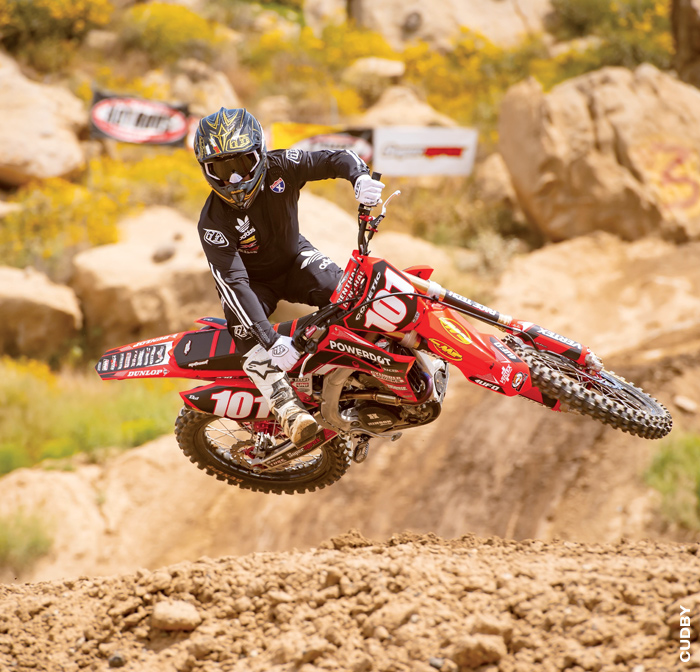


y job here at Racer X has certainly evolved over the years. After hanging up my boots at the end of 2003, I started as a full-time employee in charge of editorial, event coverage, and ad sales, among other things. I was invited to the Indy Trade Show one year, but after being overserved at the Have a Nice Day Cafe with Jesse Rooke and his crew and then covering my hotel bathroom with vomit, they didn’t invite me back. Shocking, I know. Then, as I got pulled into the Supermoto scene more, I opted for a retainer position that required me to produce certain web and print content each month. As video demand grew, we started leaning into bike intros and testing, and that has become a big part of my role here now.


How does bike testing work? Well, it’s an acquired skill. After 15 years of working with factory race teams, I learned how a bike should feel, and I can usually figure out a way to get there. The key is learning what each adjuster does, from suspension clickers to map settings to fork height position to sag numbers, etc.—all of them play a role in performance and handling. I always suggest starting at a baseline, and that’s typically how your bike should come from the dealer. Find out the recommended sag, adjust your controls, make sure your clickers are in a neutral setting (12 clicks out if there are 24 total) and fork height is in the stock position. The first thing you want to figure out is whether the bike is balanced; does it feel high or low in the front or rear? That can be adjusted in the rear with the high-speed adjuster, sag adjustment, or a change in link arm length. In the front it can be fork tube positioning, preload adjusters, air pressure, or fork spring rate. Once it’s balanced, you have to assess the firmness/softness. This is addressed by turning the low-speed clicker in the back and the compression clickers on the forks. Simultaneously address the rebound to see if it pops back up too quickly or feels “dead” and slow. Again, adjust the clickers accordingly.
Typically, bikes will have a certain characteristic that is common across the board. For instance, the Suzuki models for 2019 and 2020 are severely oversprung, so simply going to a softer spring rate will make a world of difference for any rider under 220 lbs. These are the simple setup tips we provide on our Dialed In videos, so they make a great resource for bike owners. Some of it is rider preference, so even if we get you close, you’ll need to adjust to your specific riding style. It’s new-bike season, so check out Racer X Online and see what’s up! ![]()

