

PHOTOS: ANDREW FREDRICKSON


PHOTOS: ANDREW FREDRICKSON

his month we’re installing NitroMousse tubes inside Bridgestone Battlecross E50 tires. They provide 100 percent flat protection, so when you’re doing some off-road rides in the middle of nowhere, it adds peace of mind to the trip. Also, you don’t have to adjust air pressure! When the temperature outside changes, it affects the tire pressure, but that’s not an issue with mousse inserts. Here’s how to install them.
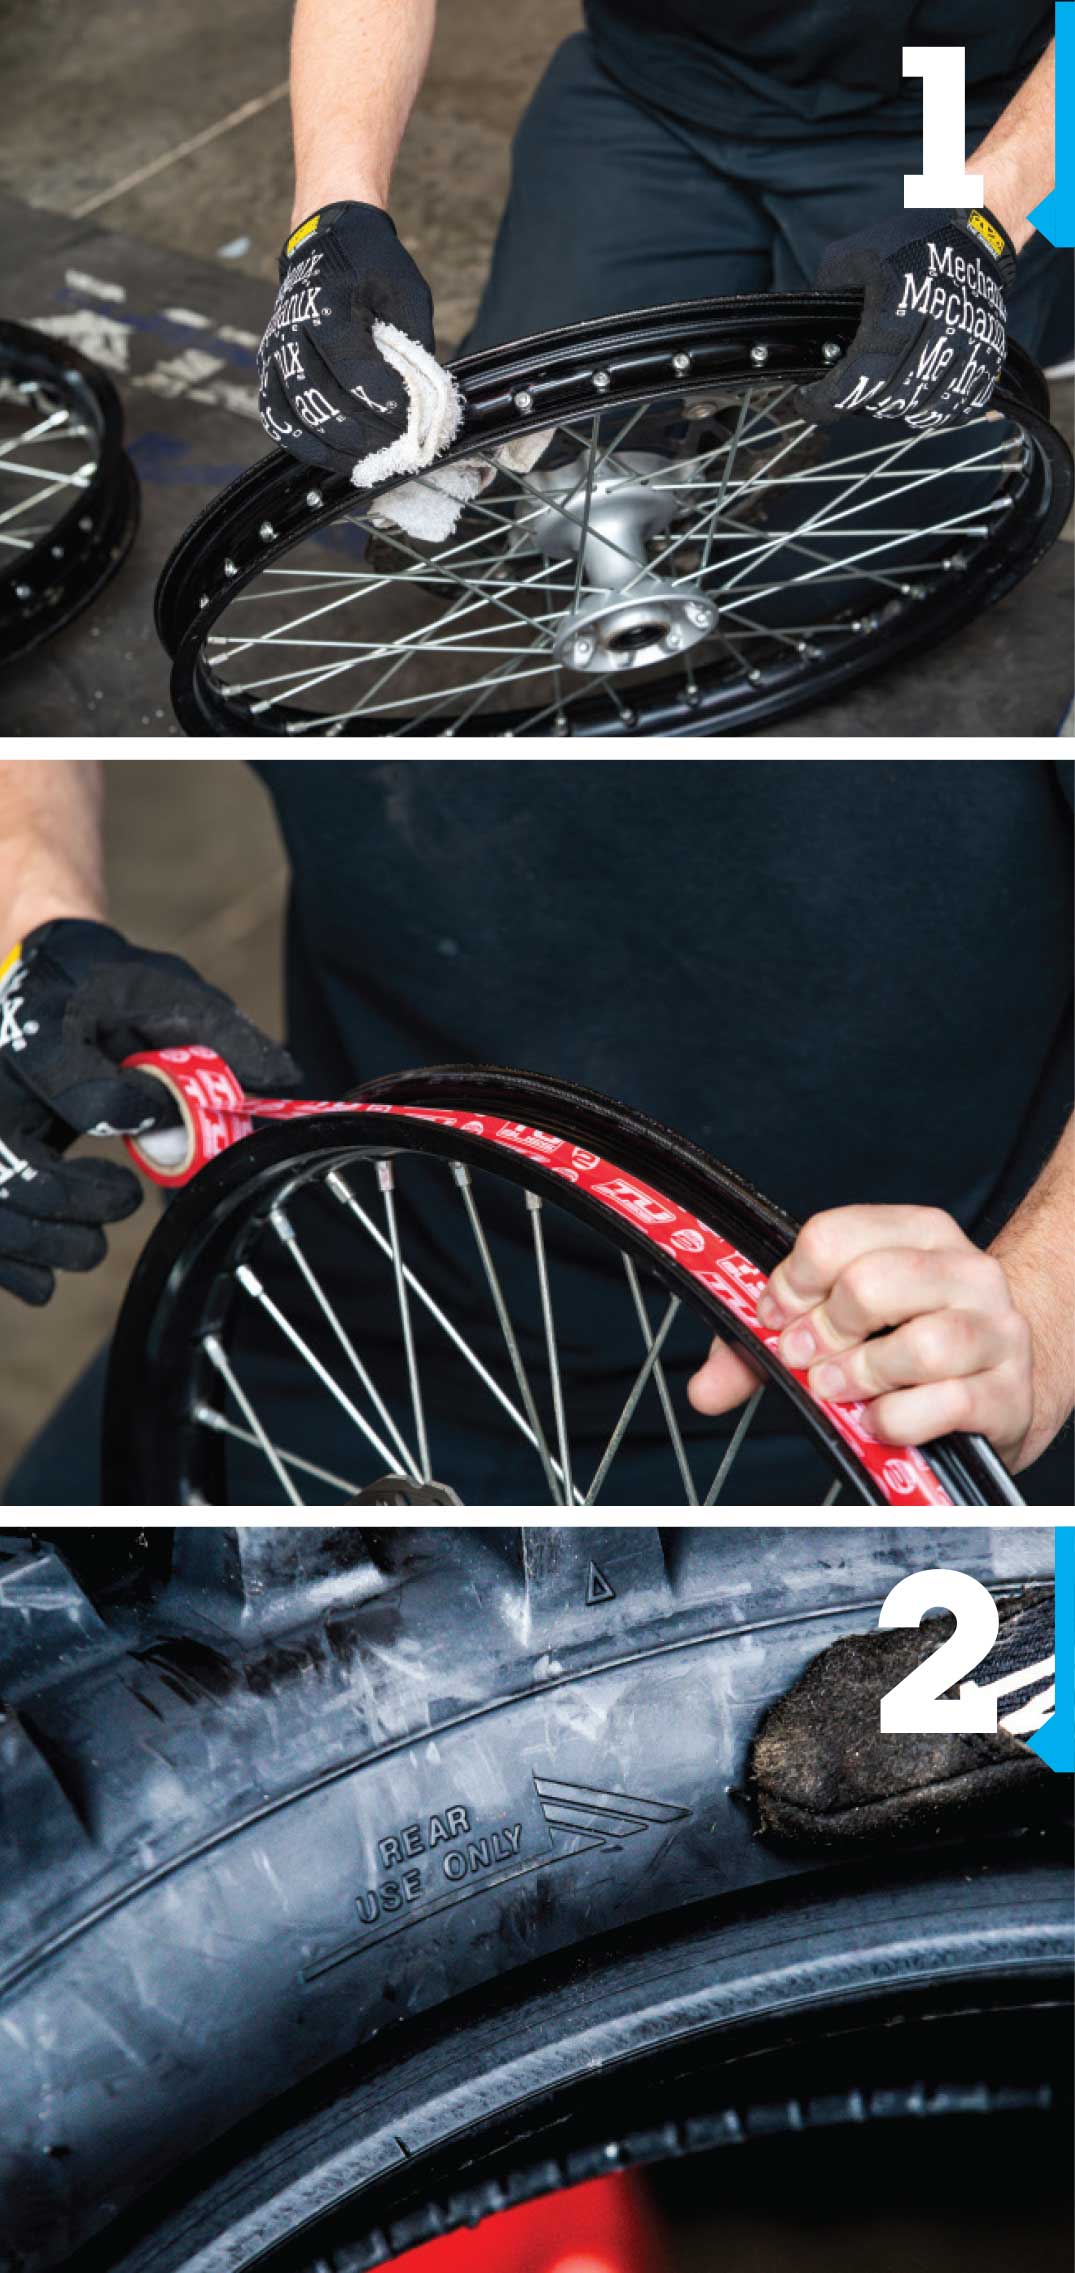
 First, remove the old tubes and tires and clean the rim. Once it’s very clean, apply the new rim band, then you’re ready to mount your tire.
 Make sure you check direction of the tire—you don’t want to put it on backward! A lot of tires are directional, so just look for an arrow on the sidewall, like on this E50. Put the tire on with the arrow pointing in the direction your bike will be turning. Make sure you get that right!
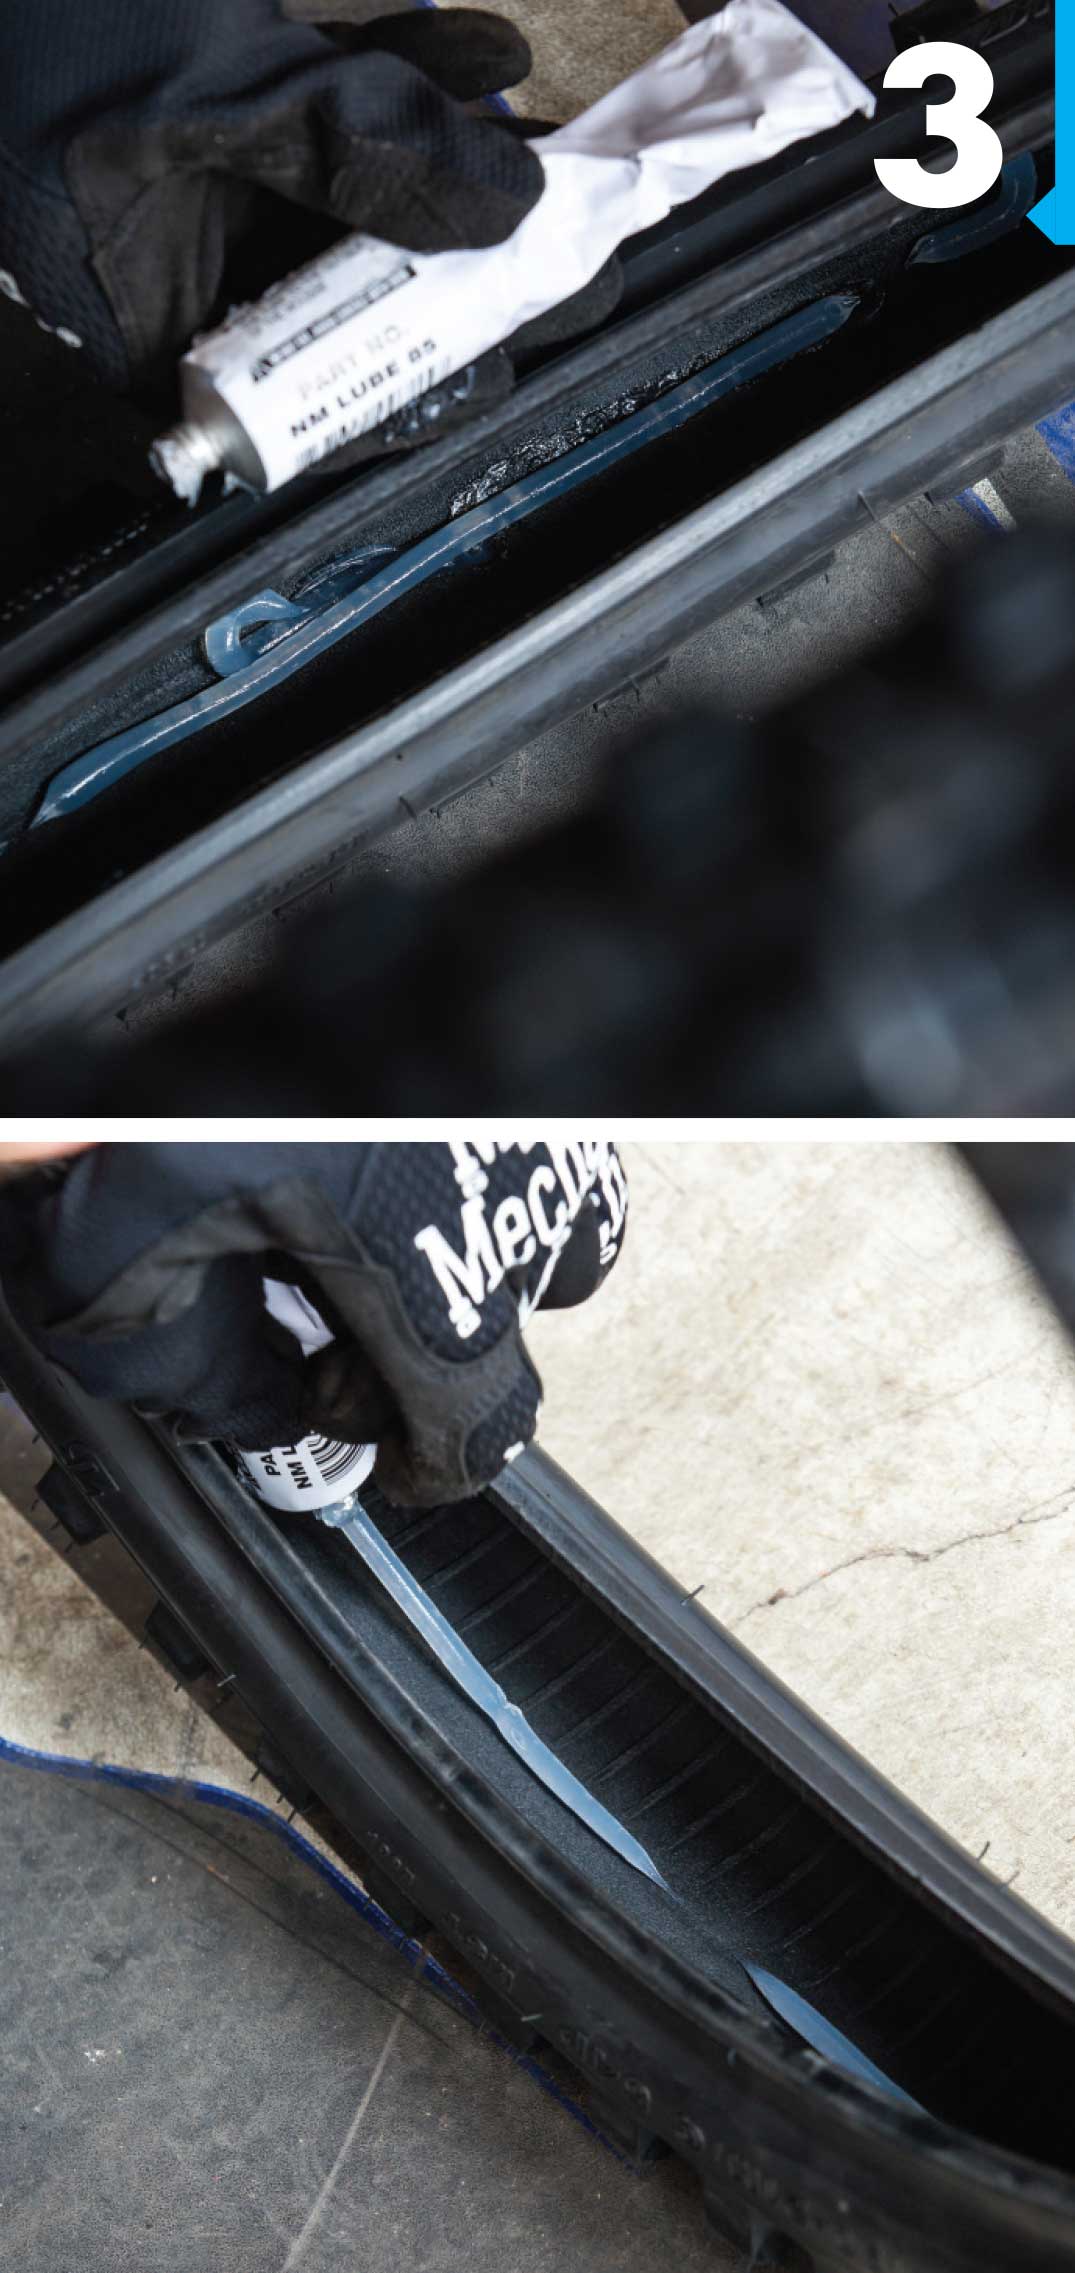
 Next, apply the mousse mounting gel inside the tire itself. NitroMousse tubes include this, so that’s great. Just do a small bead in the middle of the tire, all the way around. It’s not necessarily important to really spread that out, because the flex of the tire will do that itself. Now you’re ready to install the mousse.
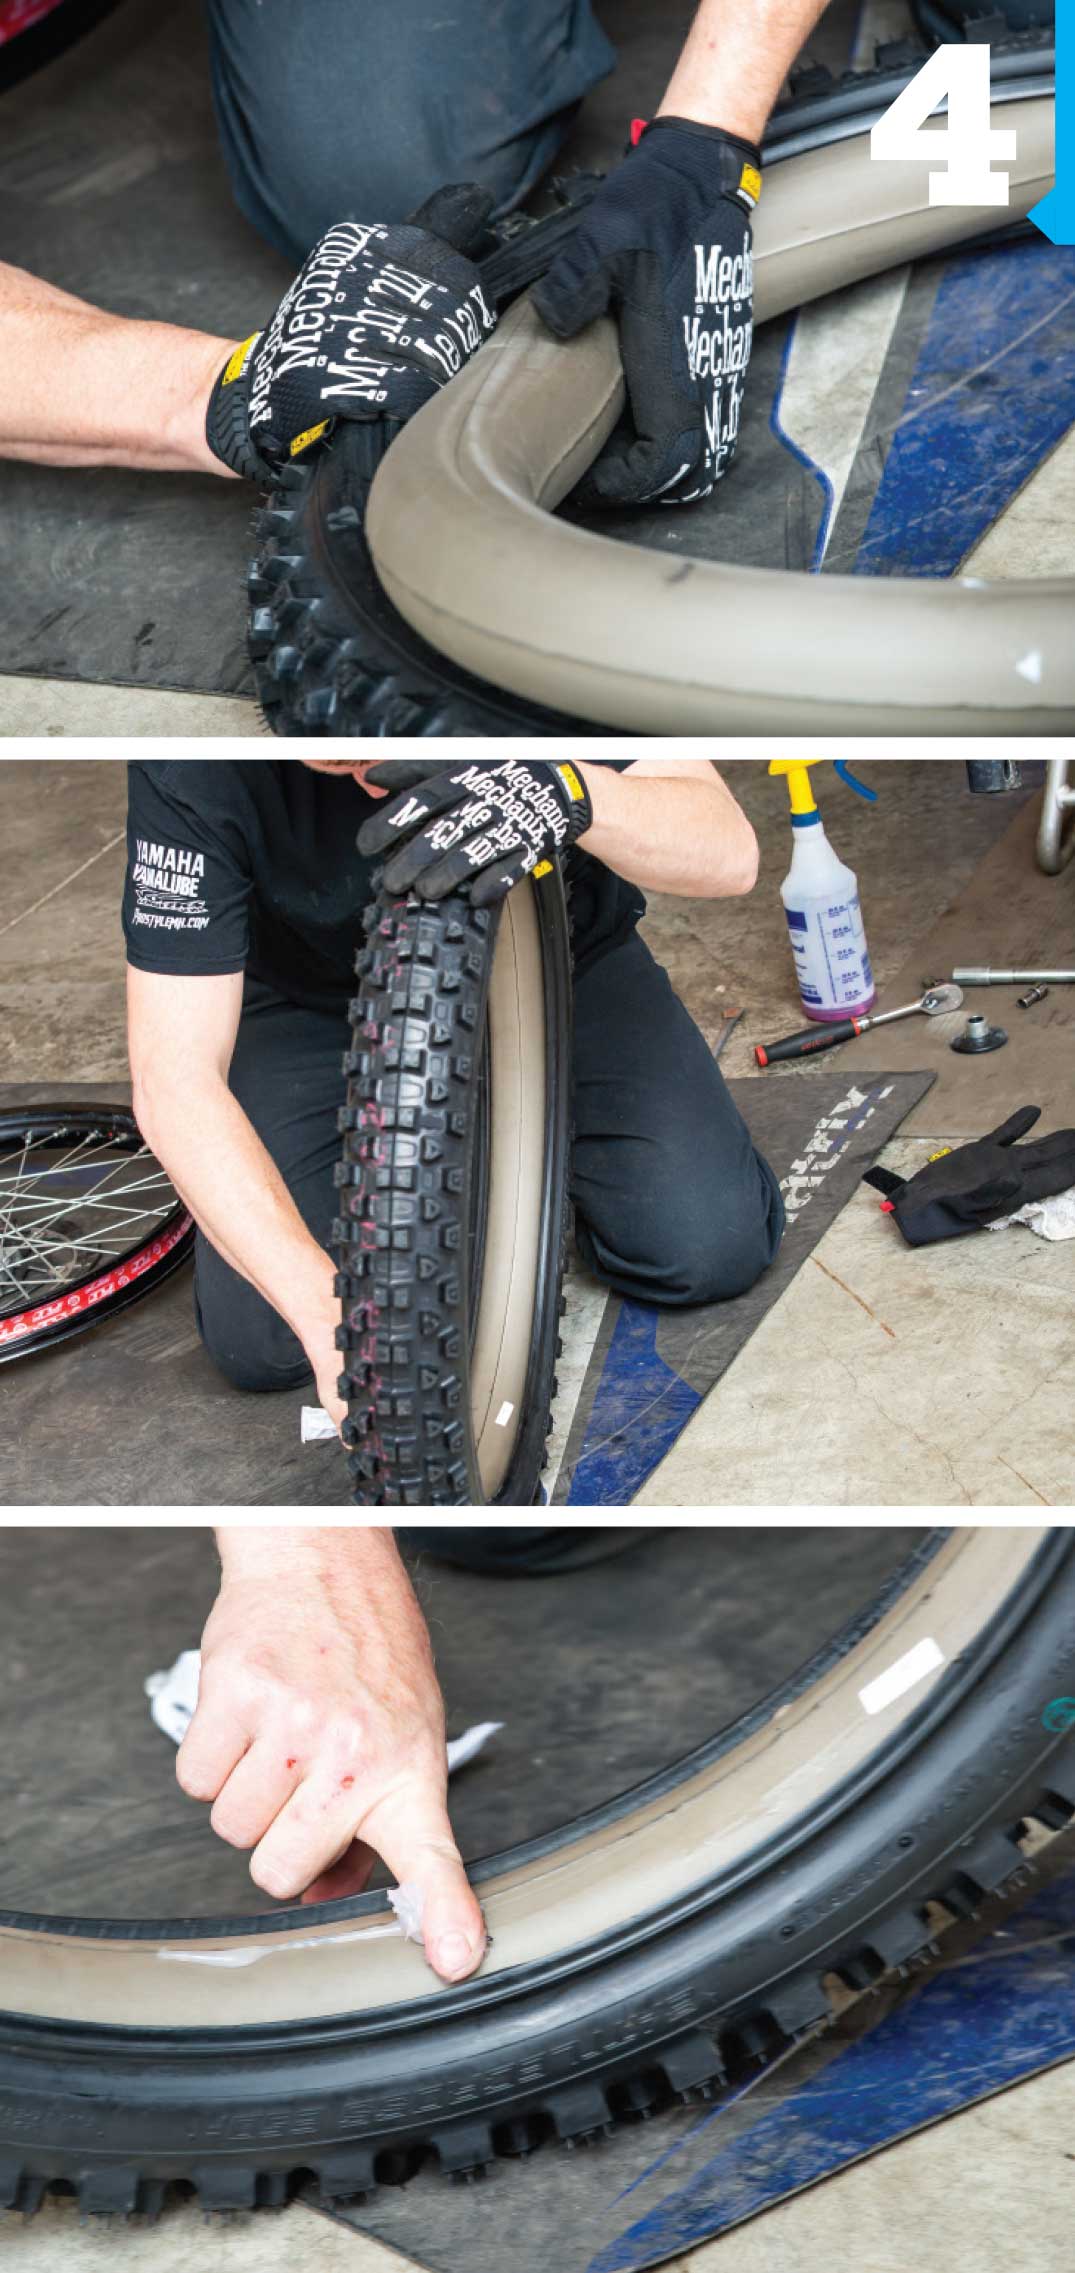
 Open the tire up a little bit, slide the mousse down into it, and then keep doing that all the way around. Once the mousse is inside the whole tire, apply some of the mousse mounting gel to the outside of the mousse where it meets the rim. Pretty easy. Spread that out evenly—make it really nice. It helps to allow the mousse to slip past the rim. Once you have it spread out evenly, you’re ready to mount the tire.
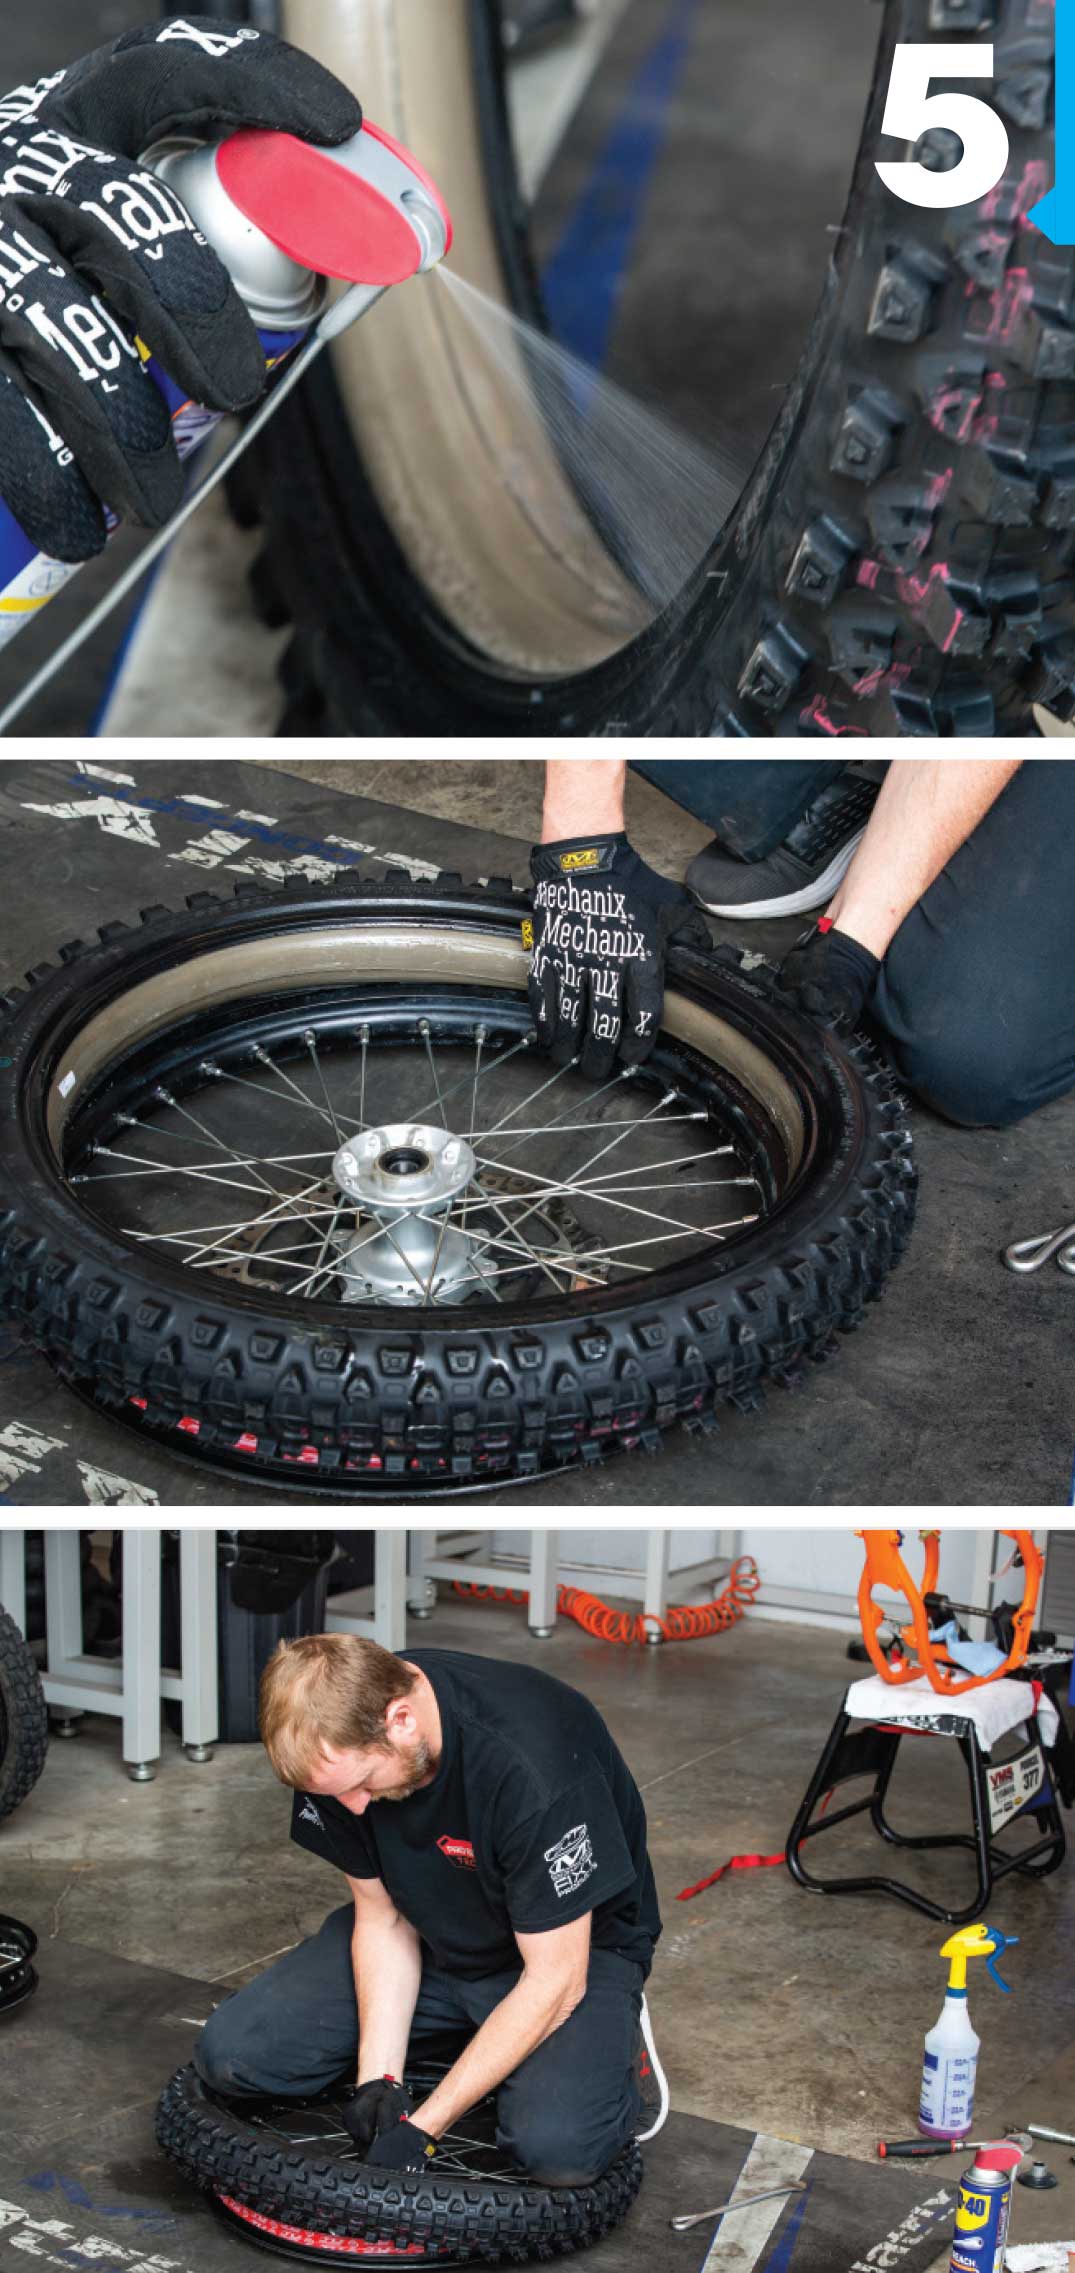
 You can use your regular tire-mount lube for this—a silicone spray. In this case, we used WD-40. Works really great—just spray it on the bead of the tire. Mount the tire like you’re mounting one with a regular air tube, starting with the bottom. Only put half of it down on the rim—we don’t want to try to mount the whole tire right now. Once you get the bottom bead seated all the way around, you can get ready to mount the top of the bead.
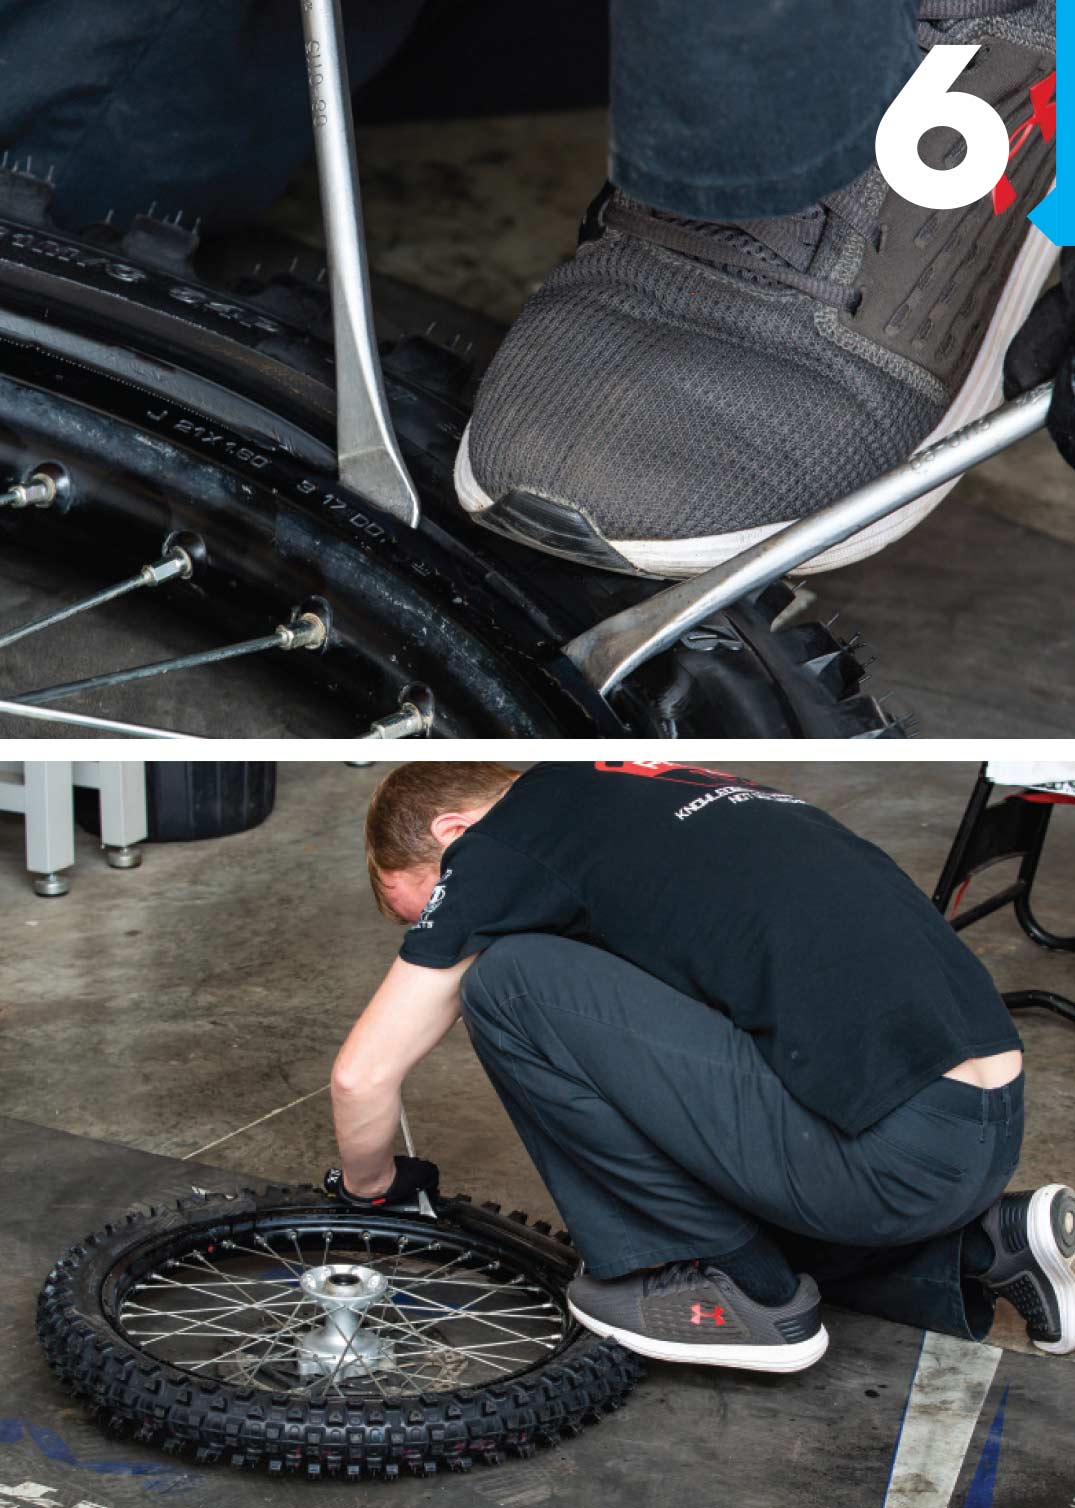
 To mount the top of the bead, I start with one tire spoon and lock it in. That tire spoon won’t move. I’ll use my other tire spoon and my foot to work toward that tire spoon to my starting point. Once I work my way around, I use small increments, maybe an inch or so of bite for the tire spoon. Then I’ll hold that down with my foot and move my tire spoon to the next inch or two, hold my foot down, and move my tire spoon again.
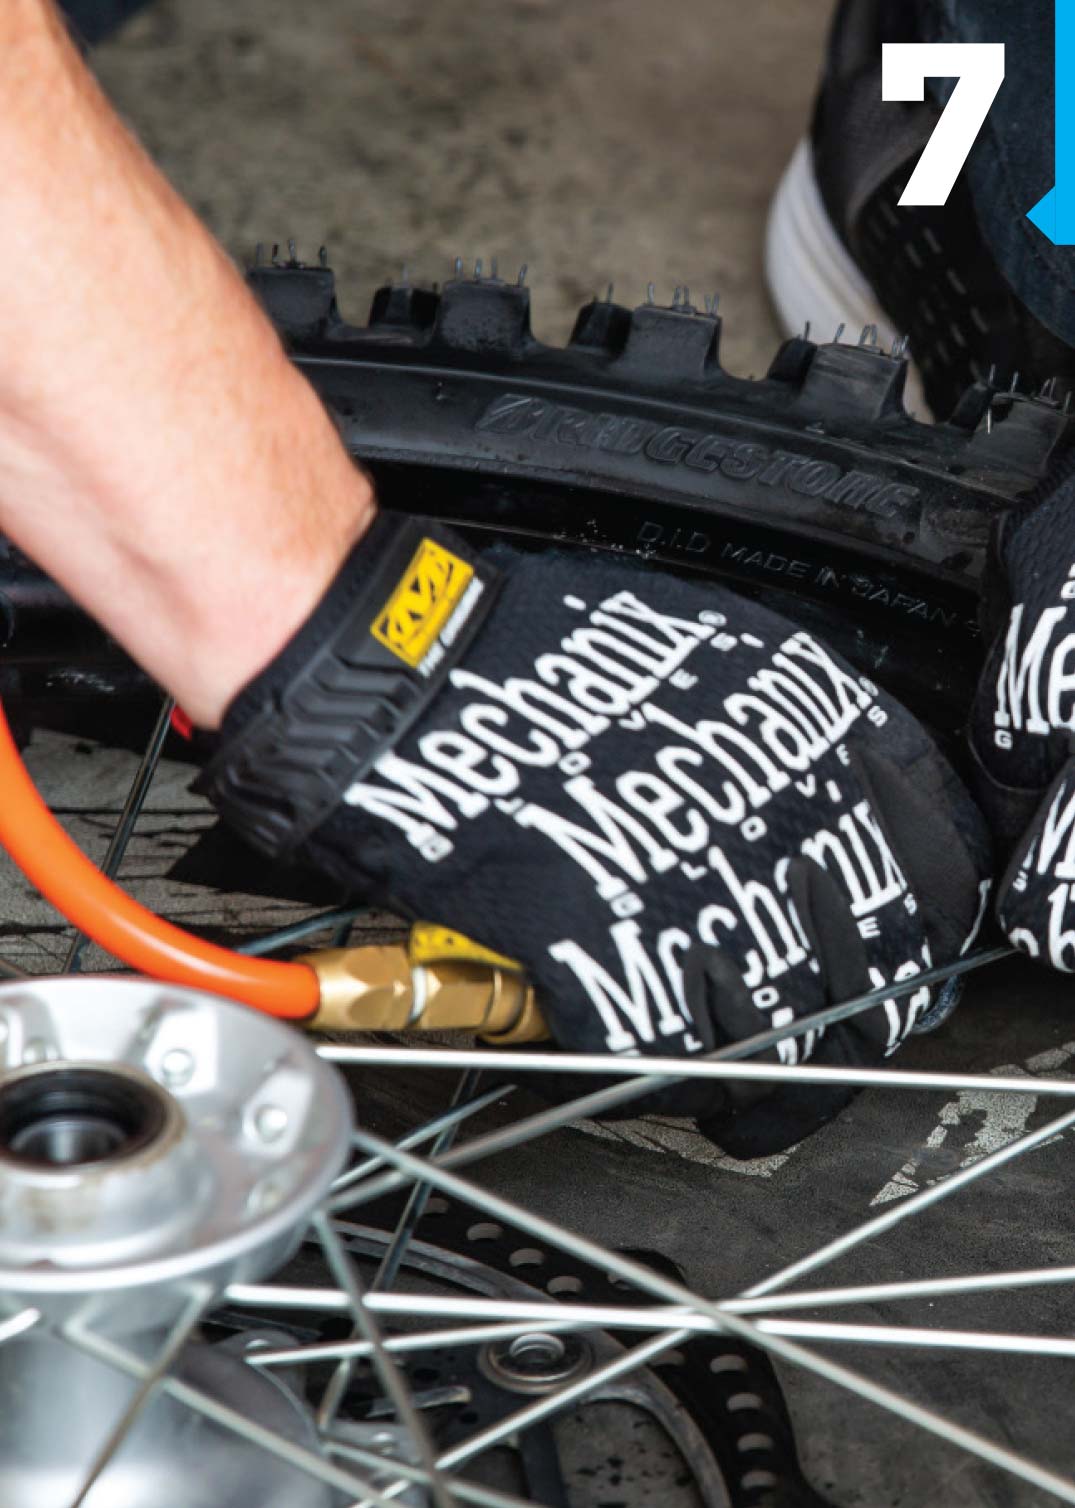
 Once your tire is seated, if a small portion of it is off of the bead, you can use air pressure—go ahead and put in where your tube would normally come out the valve stem and just hit it with air. A lot of times that will circulate around the mousse tube and back and will actually force the tire back onto the bead.
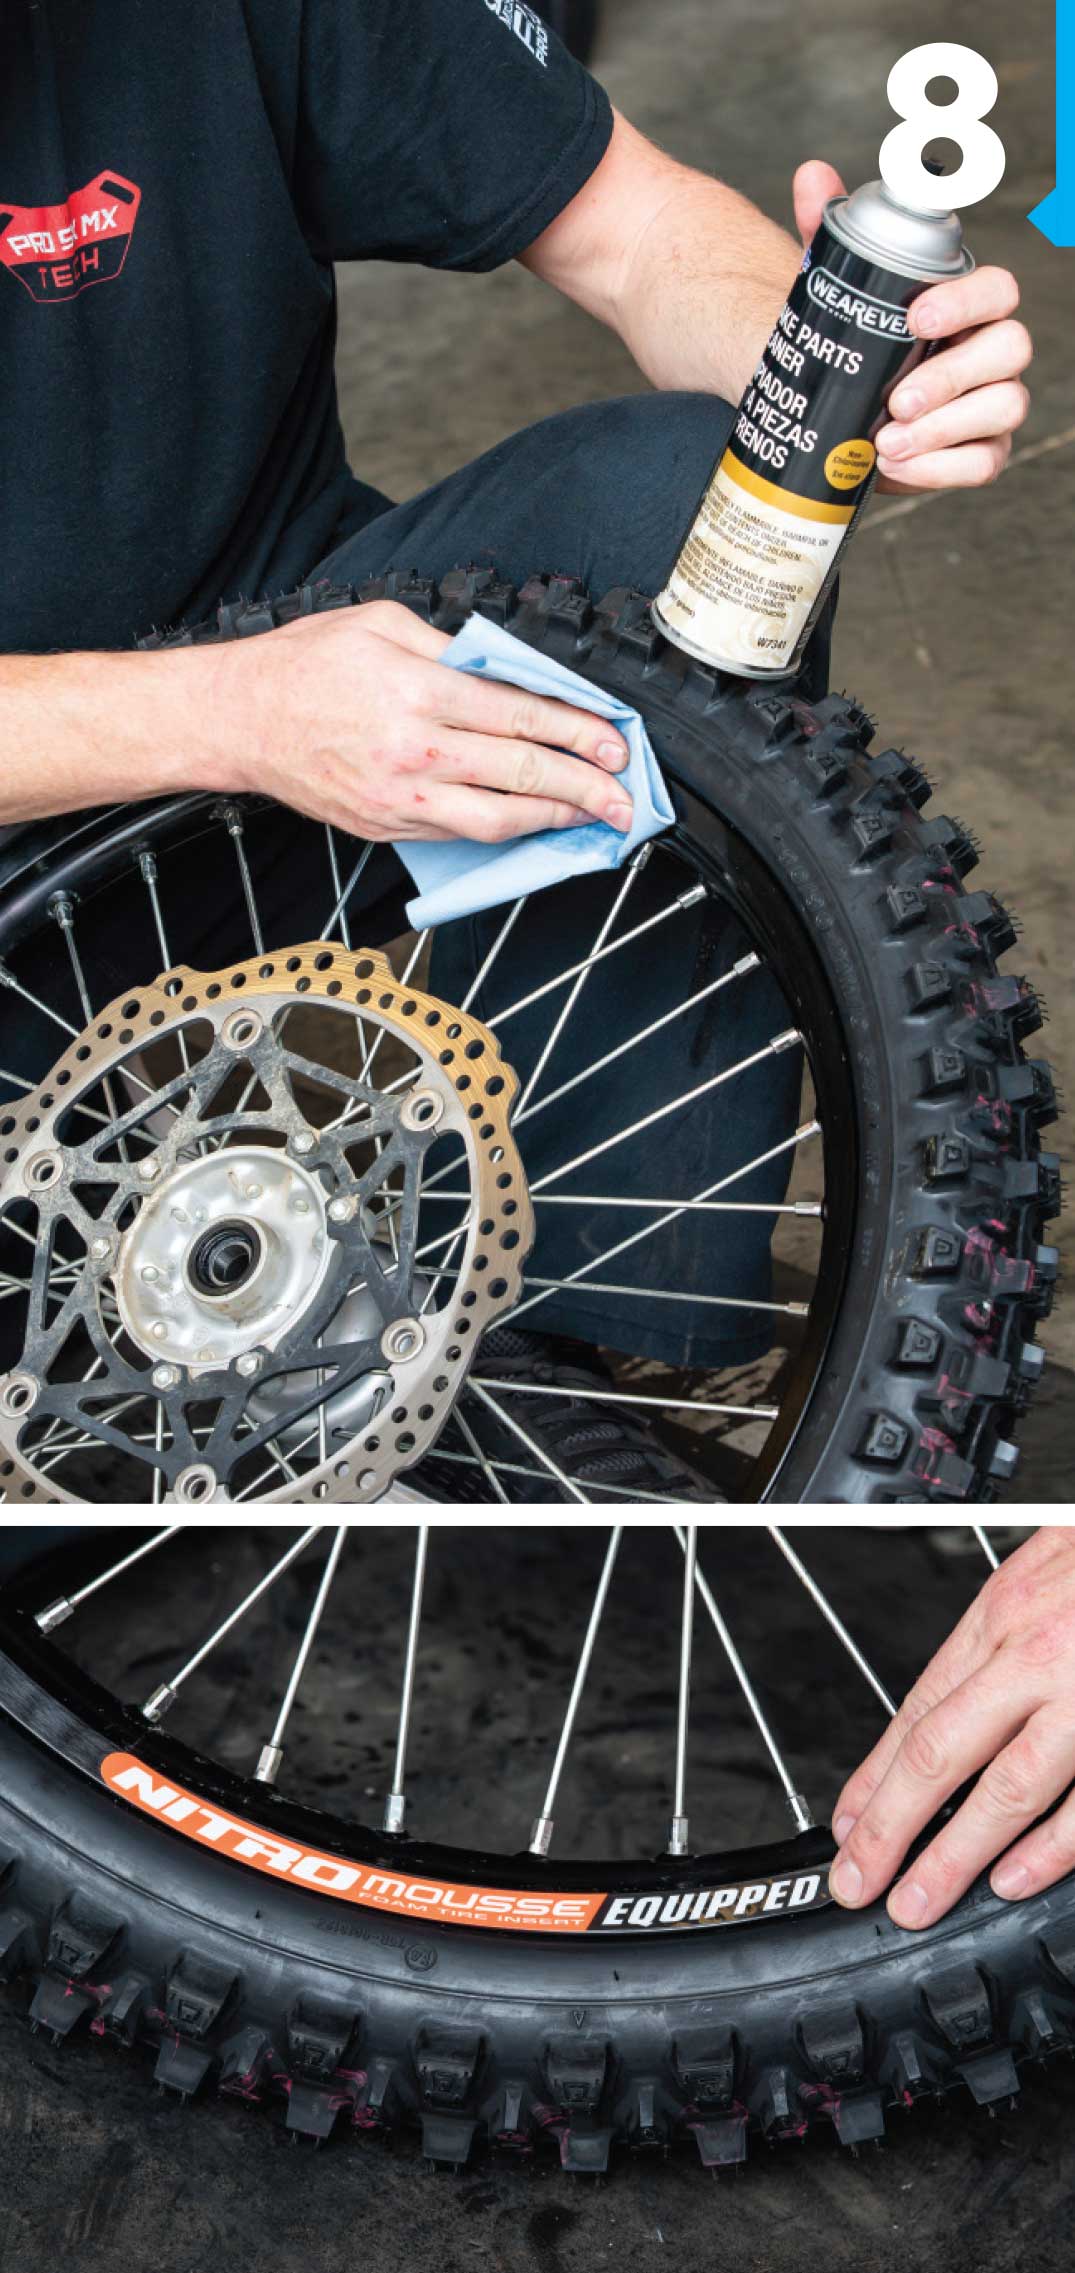
 Wipe off the remainder of the mousse mounting gel to allow the surface of the tire to be super clean. Then apply decals if you wish. You can use contact cleaner to make sure you get all that mousse mounting gel and WD-40 off of the rim. Get all that oily residue off or your decals won’t stick.
 ![]()

