

PHOTOS: ANDREW FREDRICKSON


PHOTOS: ANDREW FREDRICKSON

his month we’re putting on a fresh set of graphics—and it’s not just as easy as putting a sticker on a wall. You’ll need an 8mm or 10mm T-handle to remove your seat, a heat gun, contact cleaner, towels, and an X-Acto knife.
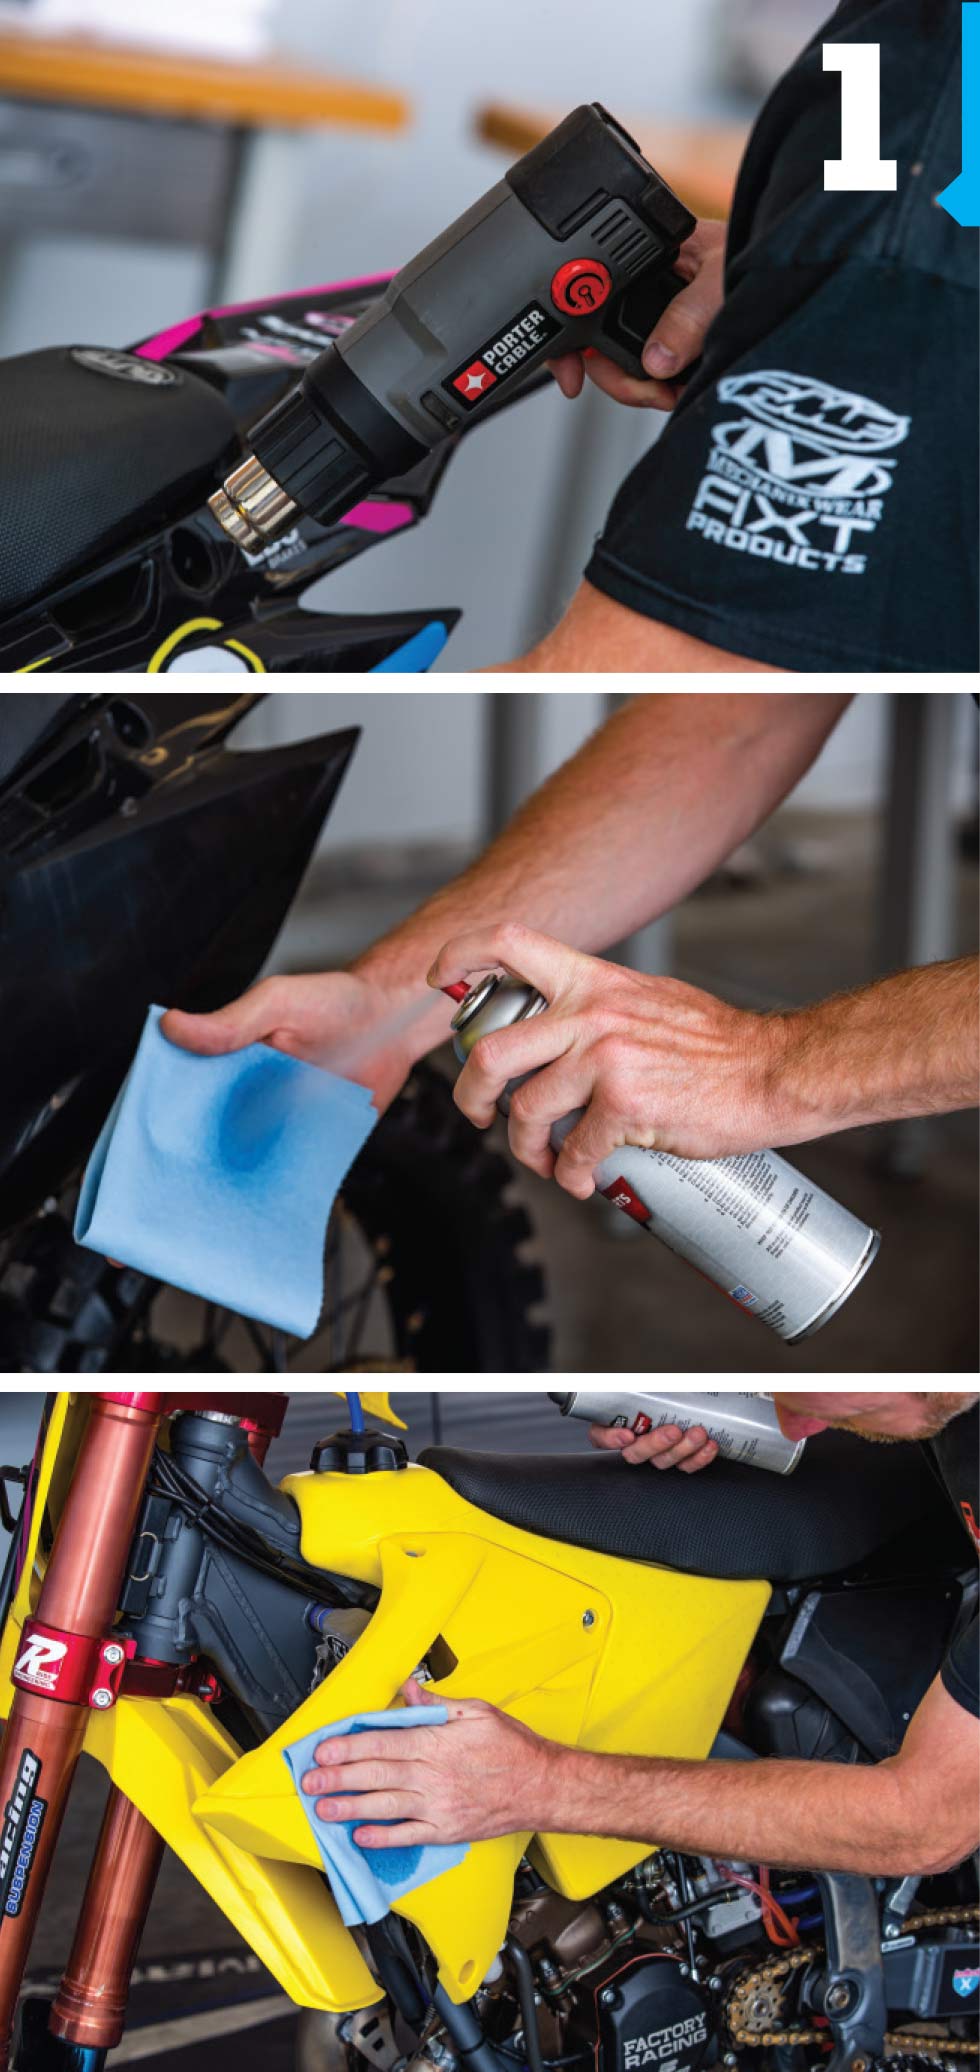
 First, remove the old graphics kit by heating them up—that will bring a lot of the glue with it. If you just try to pull them off cold, most of the glue will stick to the bike, making cleanup a lot harder. Use a heat gun. (I don’t recommend using a torch—open flames aren’t a good idea around gas.) Once the old graphics are off, clean the plastic and get off all the old glue with some contact cleaner.
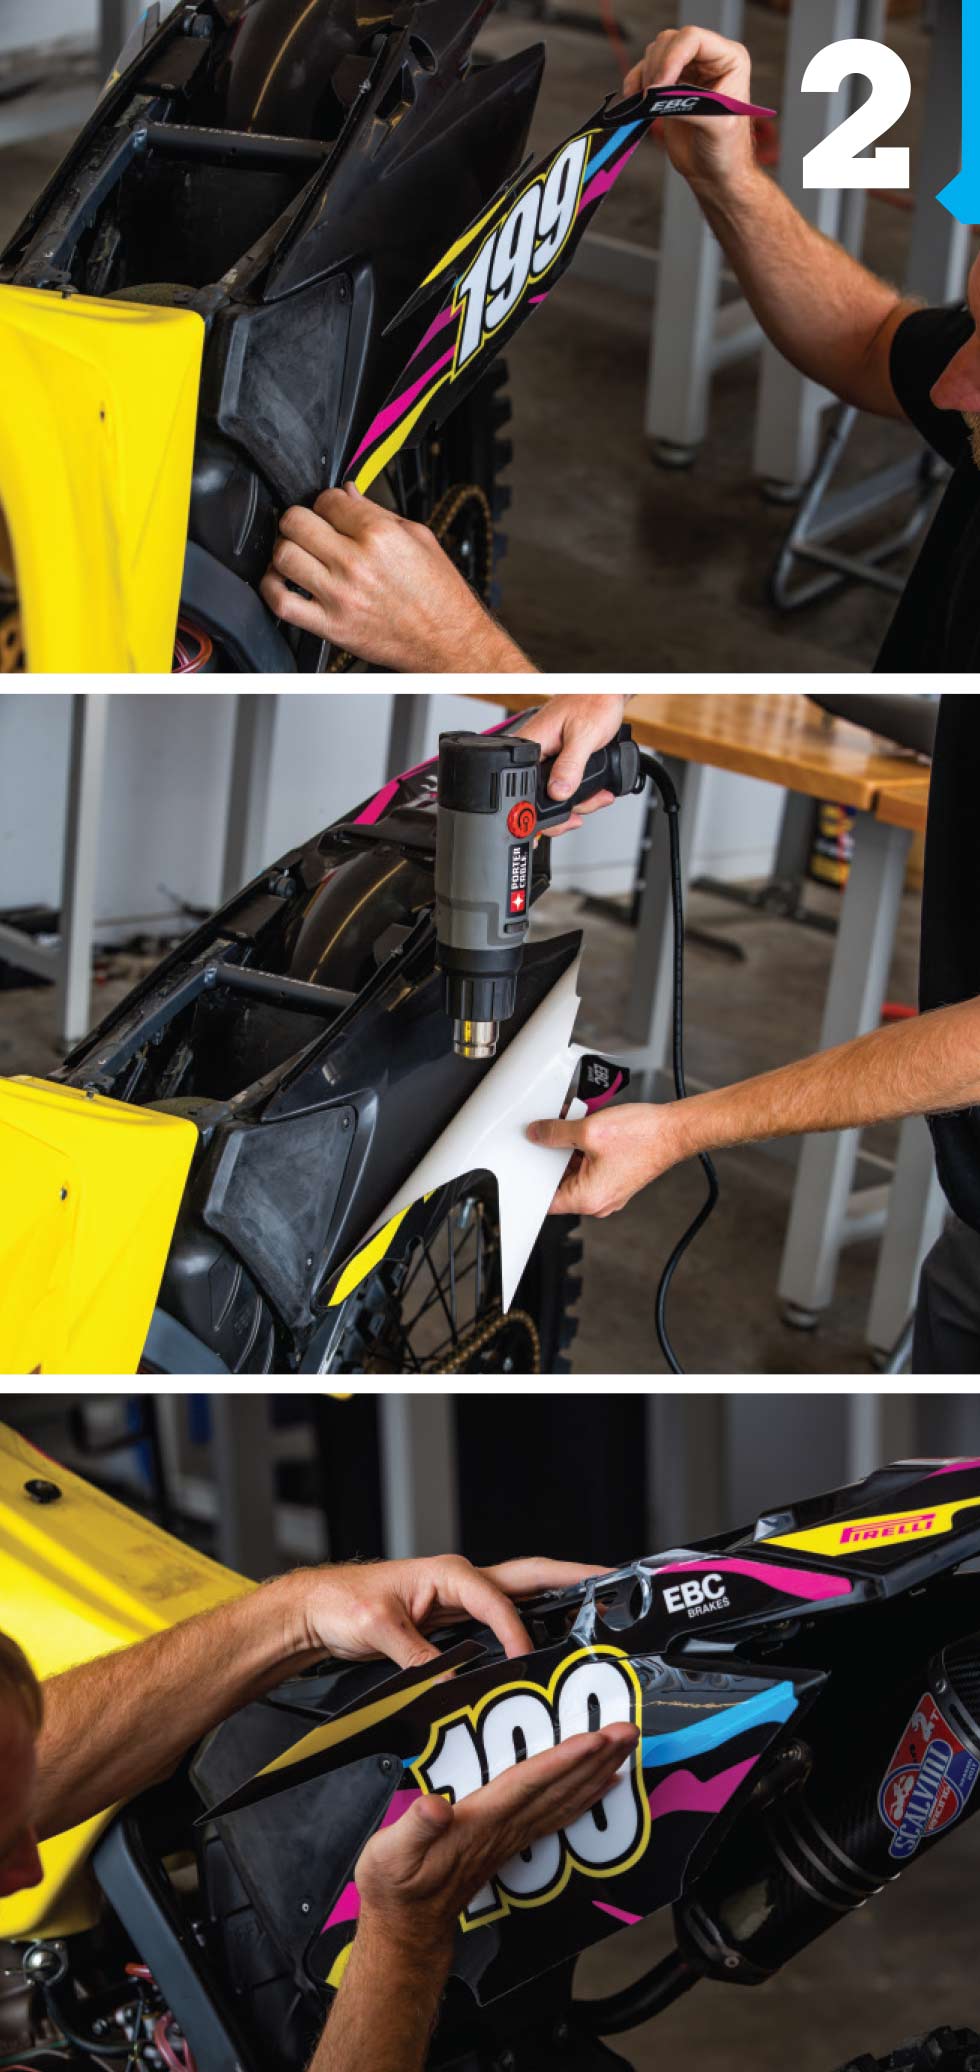
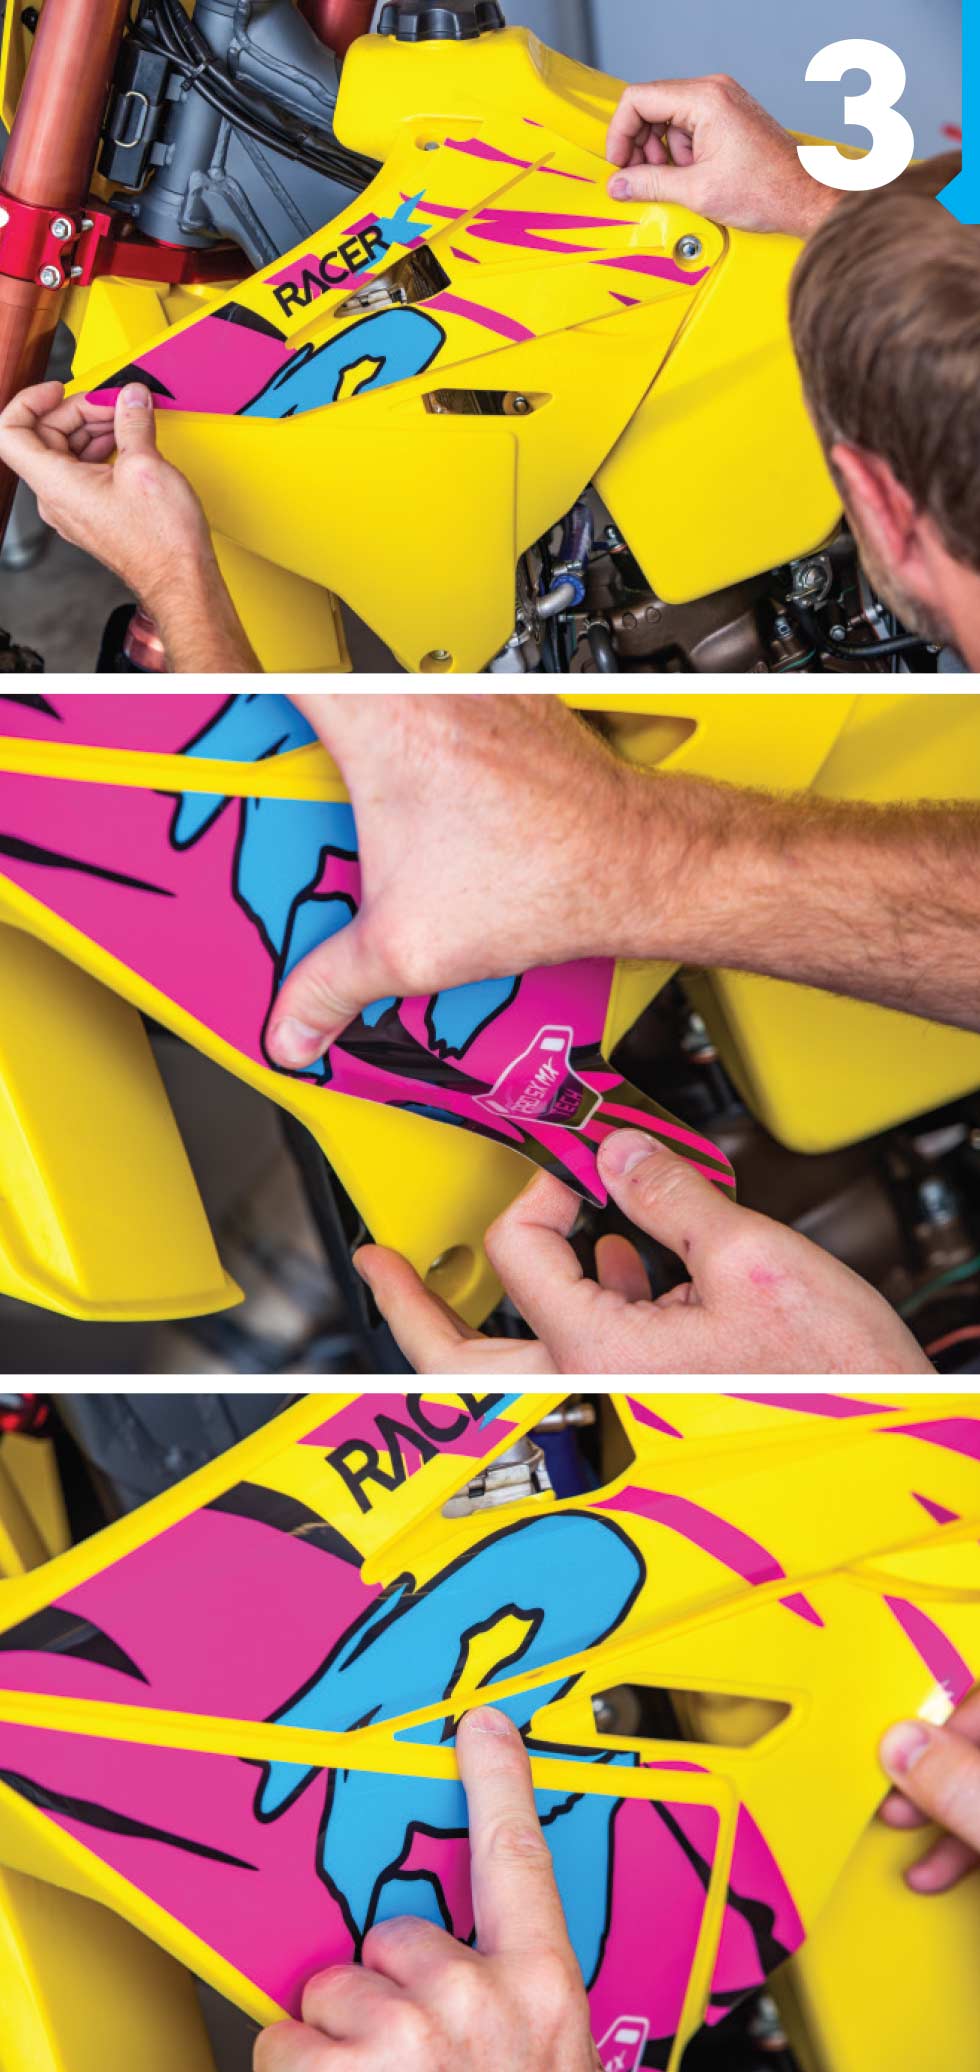
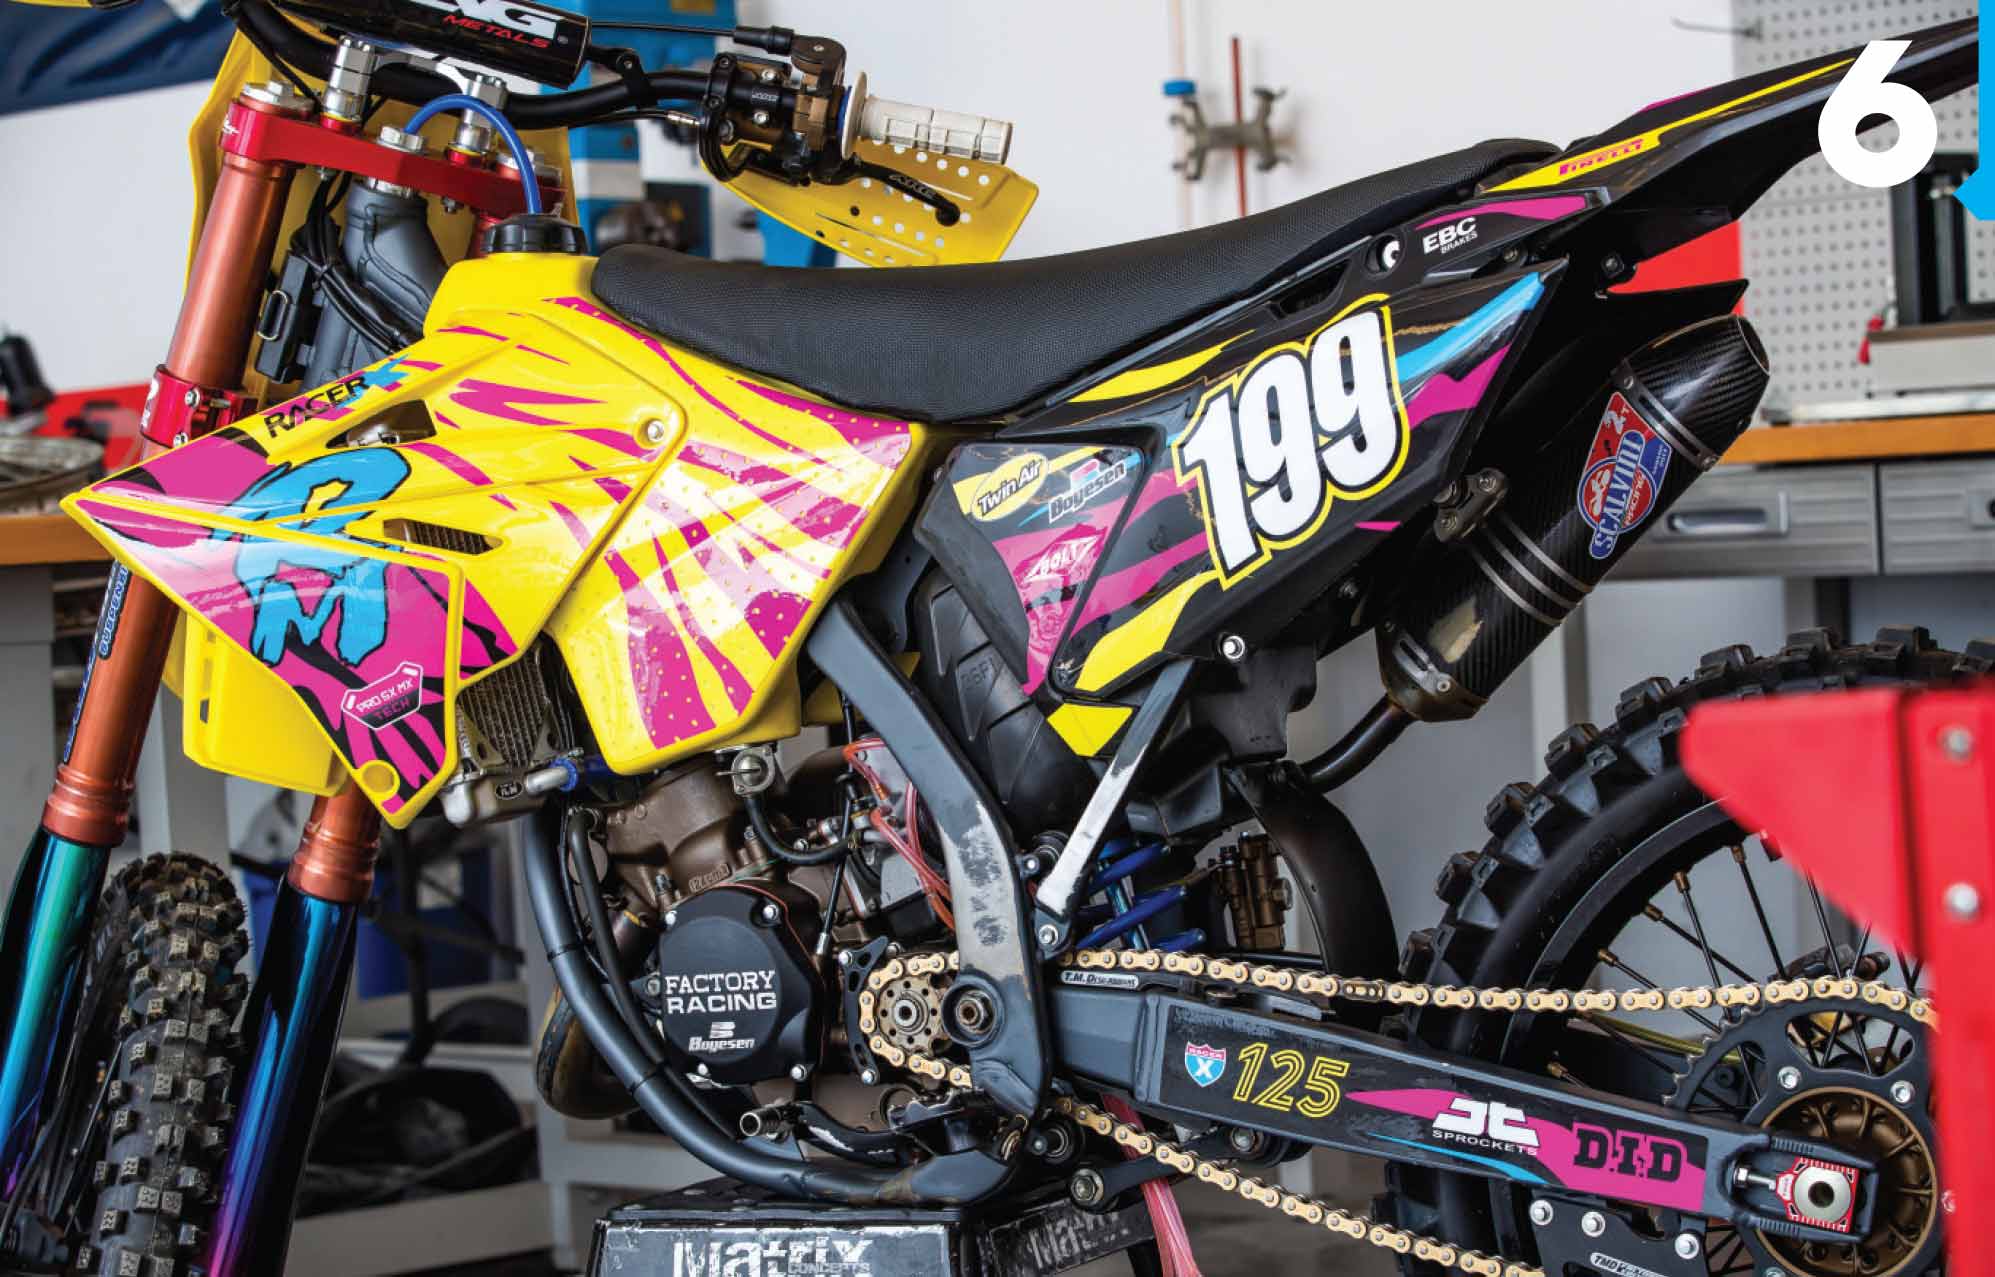
 When installing new graphics, I like to pull off the whole backing first. There are a lot of different techniques, but I like to peel the whole back off and then start in one corner. If you start aligning the graphic in one corner, you can usually follow a ridge down on each side panel or kind of stay in the middle. It’ll depend on the graphic and the plastics. Start in one corner—alternatively, a bolt hole will really help—then work your way toward the other side. Look at the other side and see where you want the graphic to end up, and go ahead and stick the corner. Then you can work your highest point where the ridge is. By doing so, you can work the top half of the graphic and then work below the ridge, the bottom half of the graphic. Again, use a lot of heat. Heat is your friend here.
 Once you have the ridge stuck and you’ve worked the bottom and top half, you can work your smaller pieces, such as on your shroud, into place using heat. I align the larger pieces first, simply because it’s easier to maneuver the smaller pieces to make everything line up.
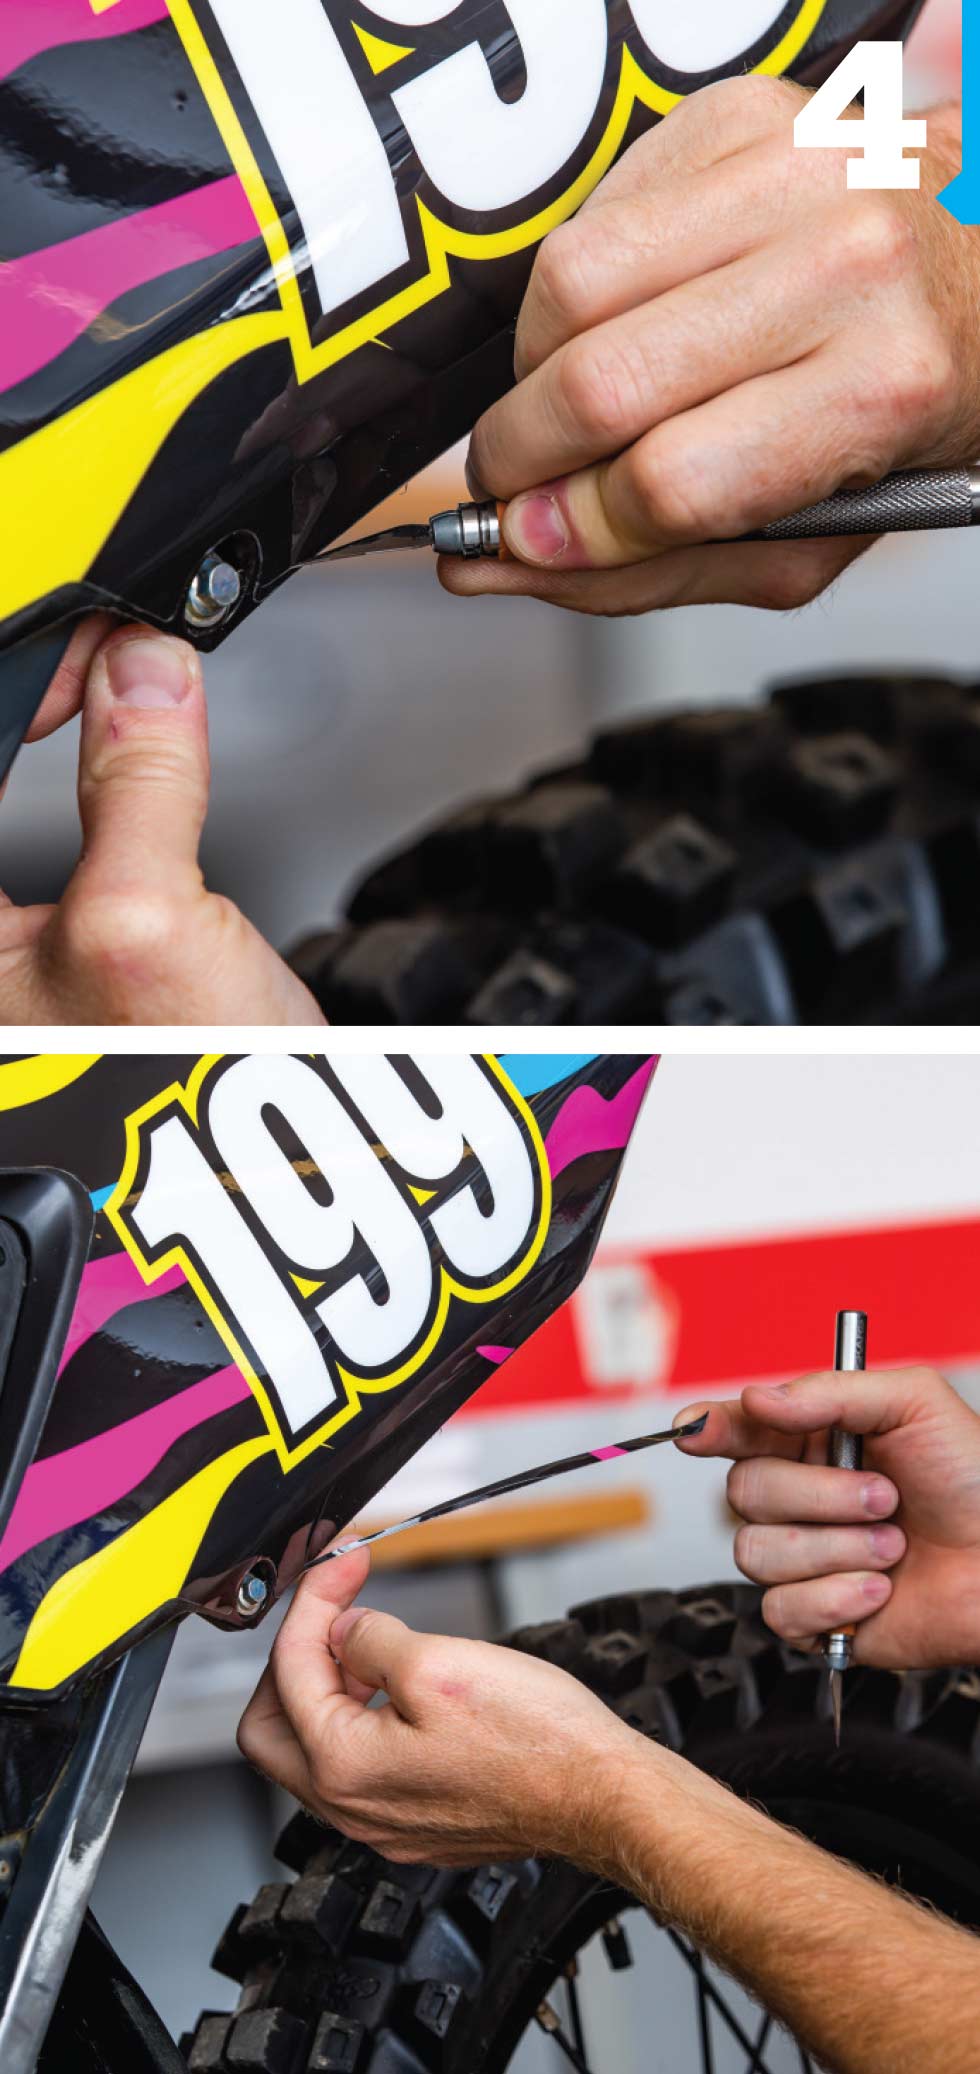
 Once your graphics are in place and everything is looking good, if there’s any excess hanging off the edge of the plastic, use an X-Acto knife or a razor knife and cut that edge, about 2-3mm off—just enough to get you back up onto your plastic so you don’t have that extra graphic sticking over the edge. Again, when you move up to your shroud, do the same thing. Align the larger pieces first and then you can do your smaller pieces.
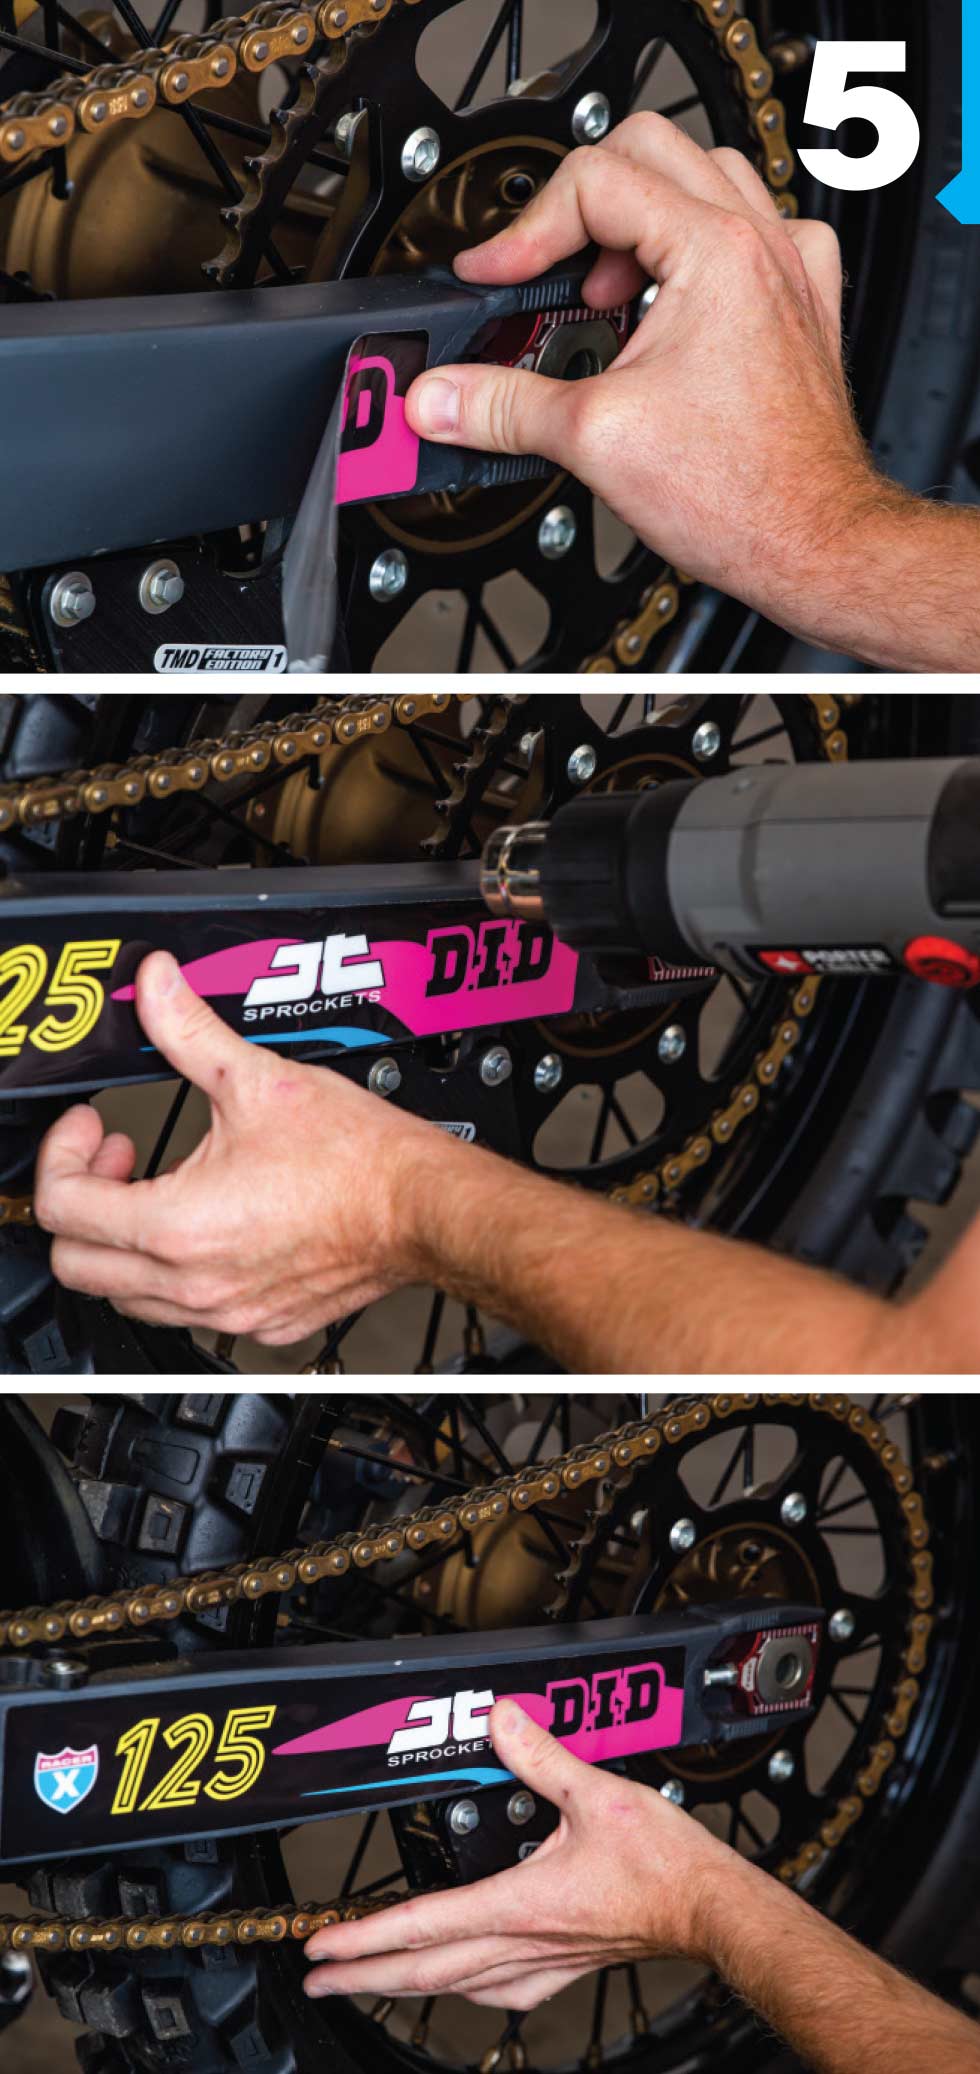
 For the swingarm, I start at the back. Don’t put your graphics over a weld—it’ll be a lot more difficult to heat them and get them to go down. If there’s a little spot that isn’t sticking, water and dirt and stuff can get in behind your graphic, and before you know it, it will all pull off. Start in front of the weld. Even if you have to trim a little of your decal off, do that so it fits. Most swingarms are flat, so it goes on really nice.
 Once the graphics are installed, I like to clean them by wiping them down with some SC1, but not where the rider sits. Don’t do the shrouds or the side panels or air box—just the front fender, front number plate, and maybe the rear fender and swingarm graphics. Then reapply your seat. On a lot of these bikes, you have to take the seat off to actually wrap that graphic over the shroud, so the graphic sits under the seat. After that, like I said, clean, reapply the seat, and go ride!
 ![]()

