

PHOTOS: ANDREW FREDRICKSON


PHOTOS: ANDREW FREDRICKSON

ast month we got your cables lubed up, and this time we’re going to work on the controls up on the handlebars.
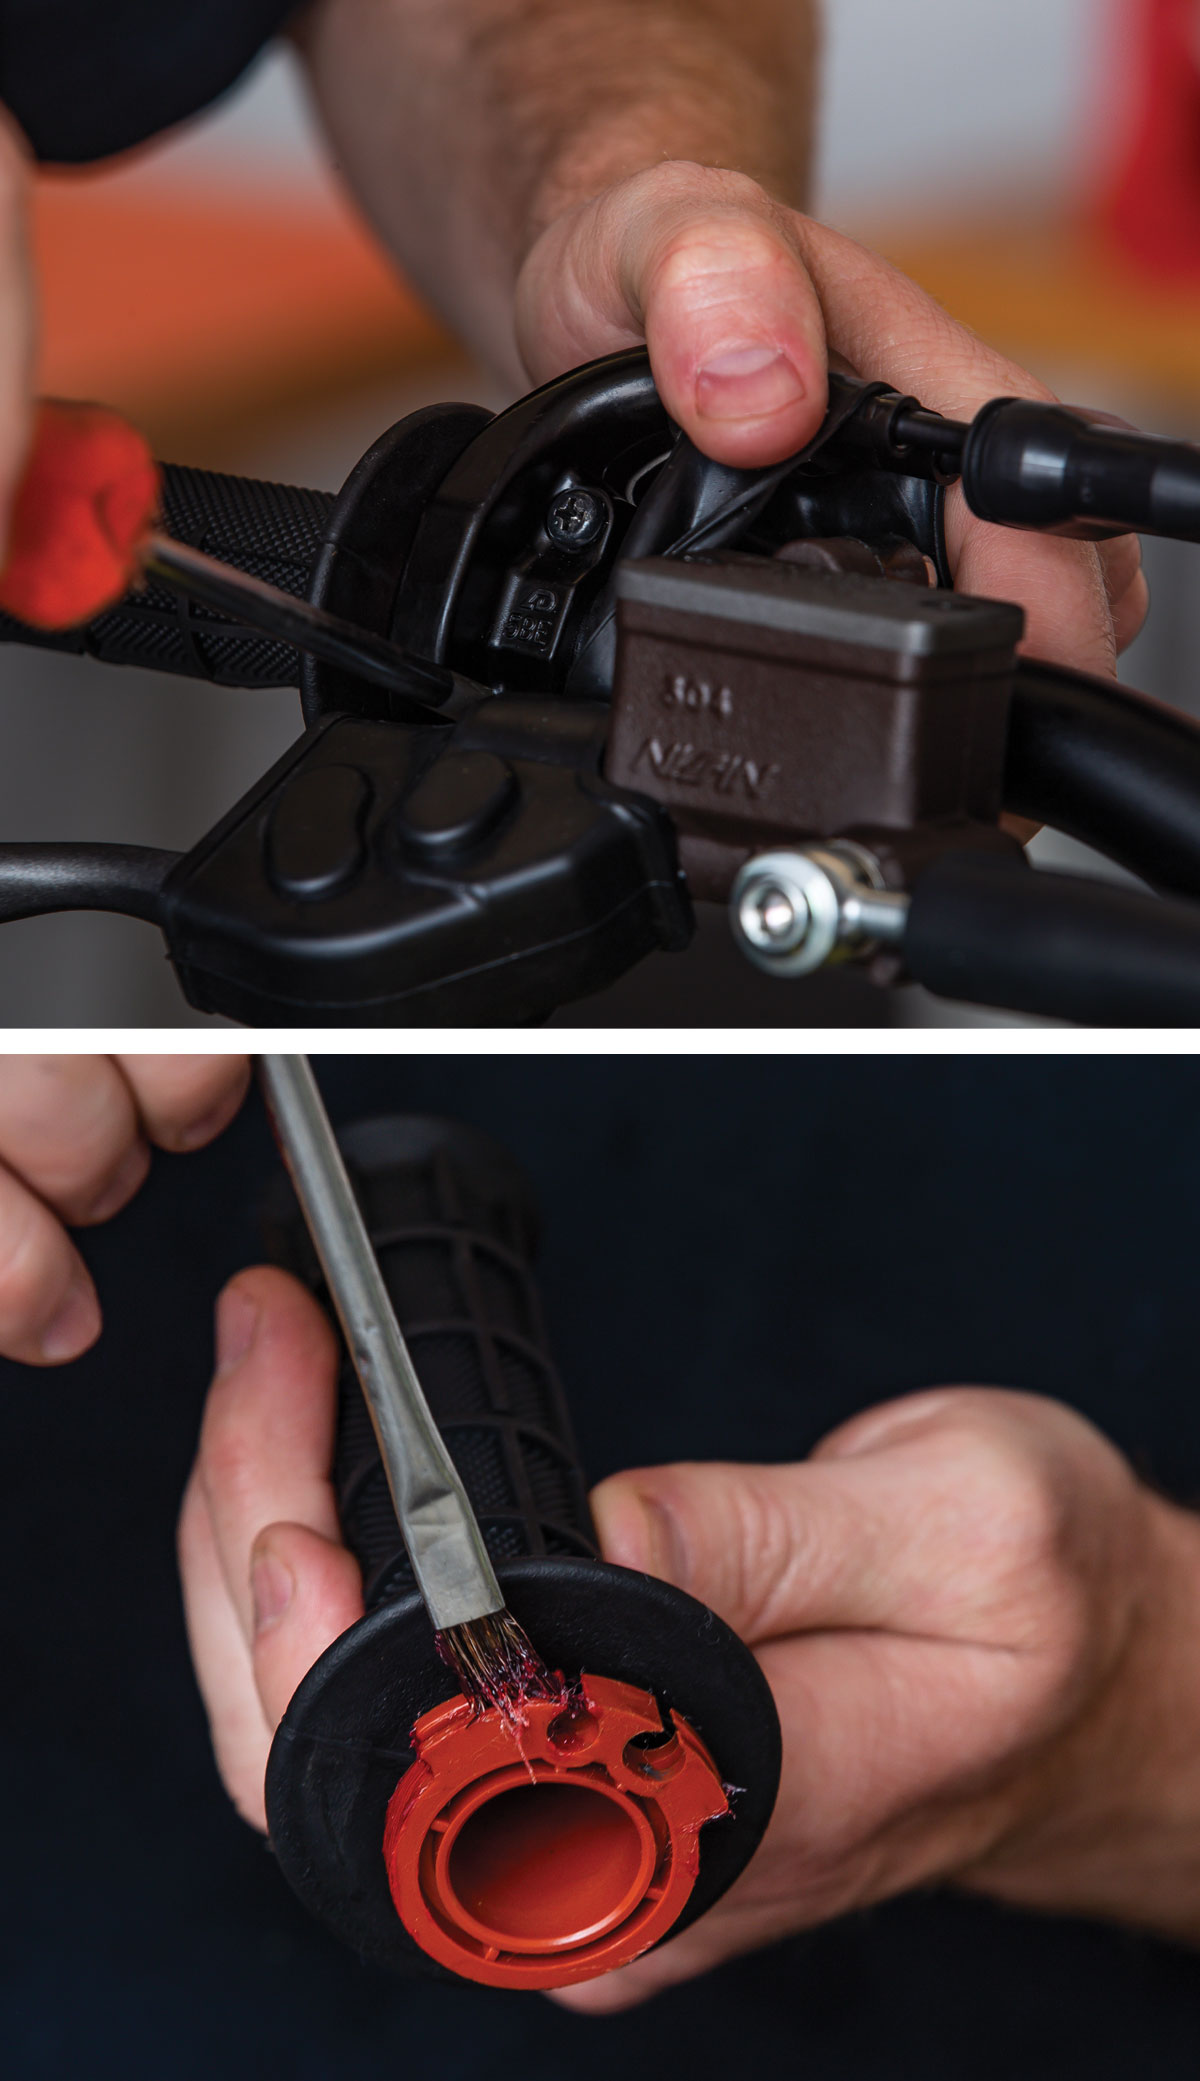
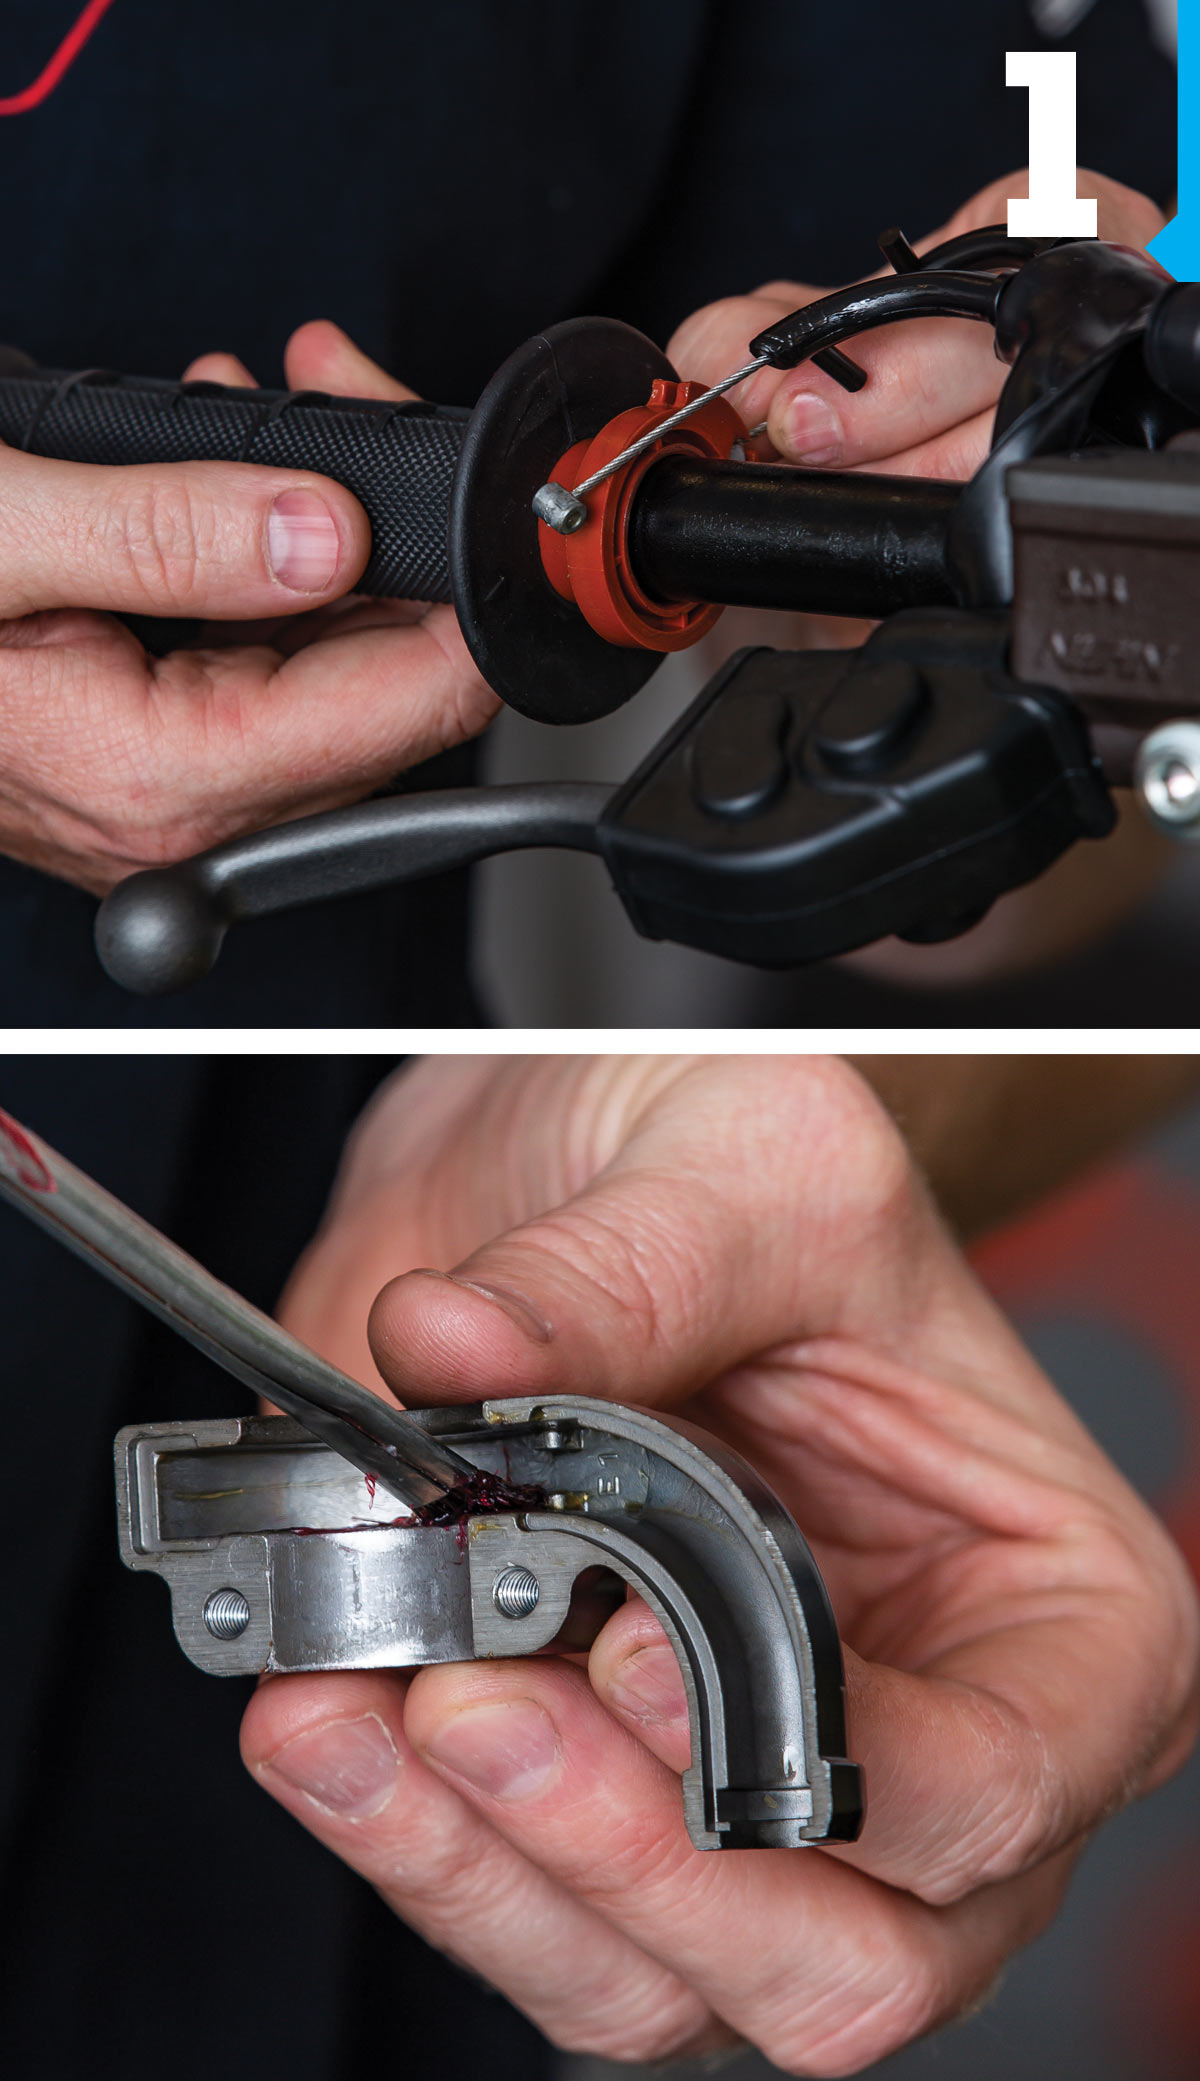
 First we took the throttle housing apart. Since this was a new bike, we went ahead and greased the throttle tube where the cables ride into the throttle tube itself, and where the throttle tube meets the housing. Then we greased the housing where the throttle tube sits inside—that way those two have friction upon themselves, so a little grease will help free things up and won’t allow it to wear.
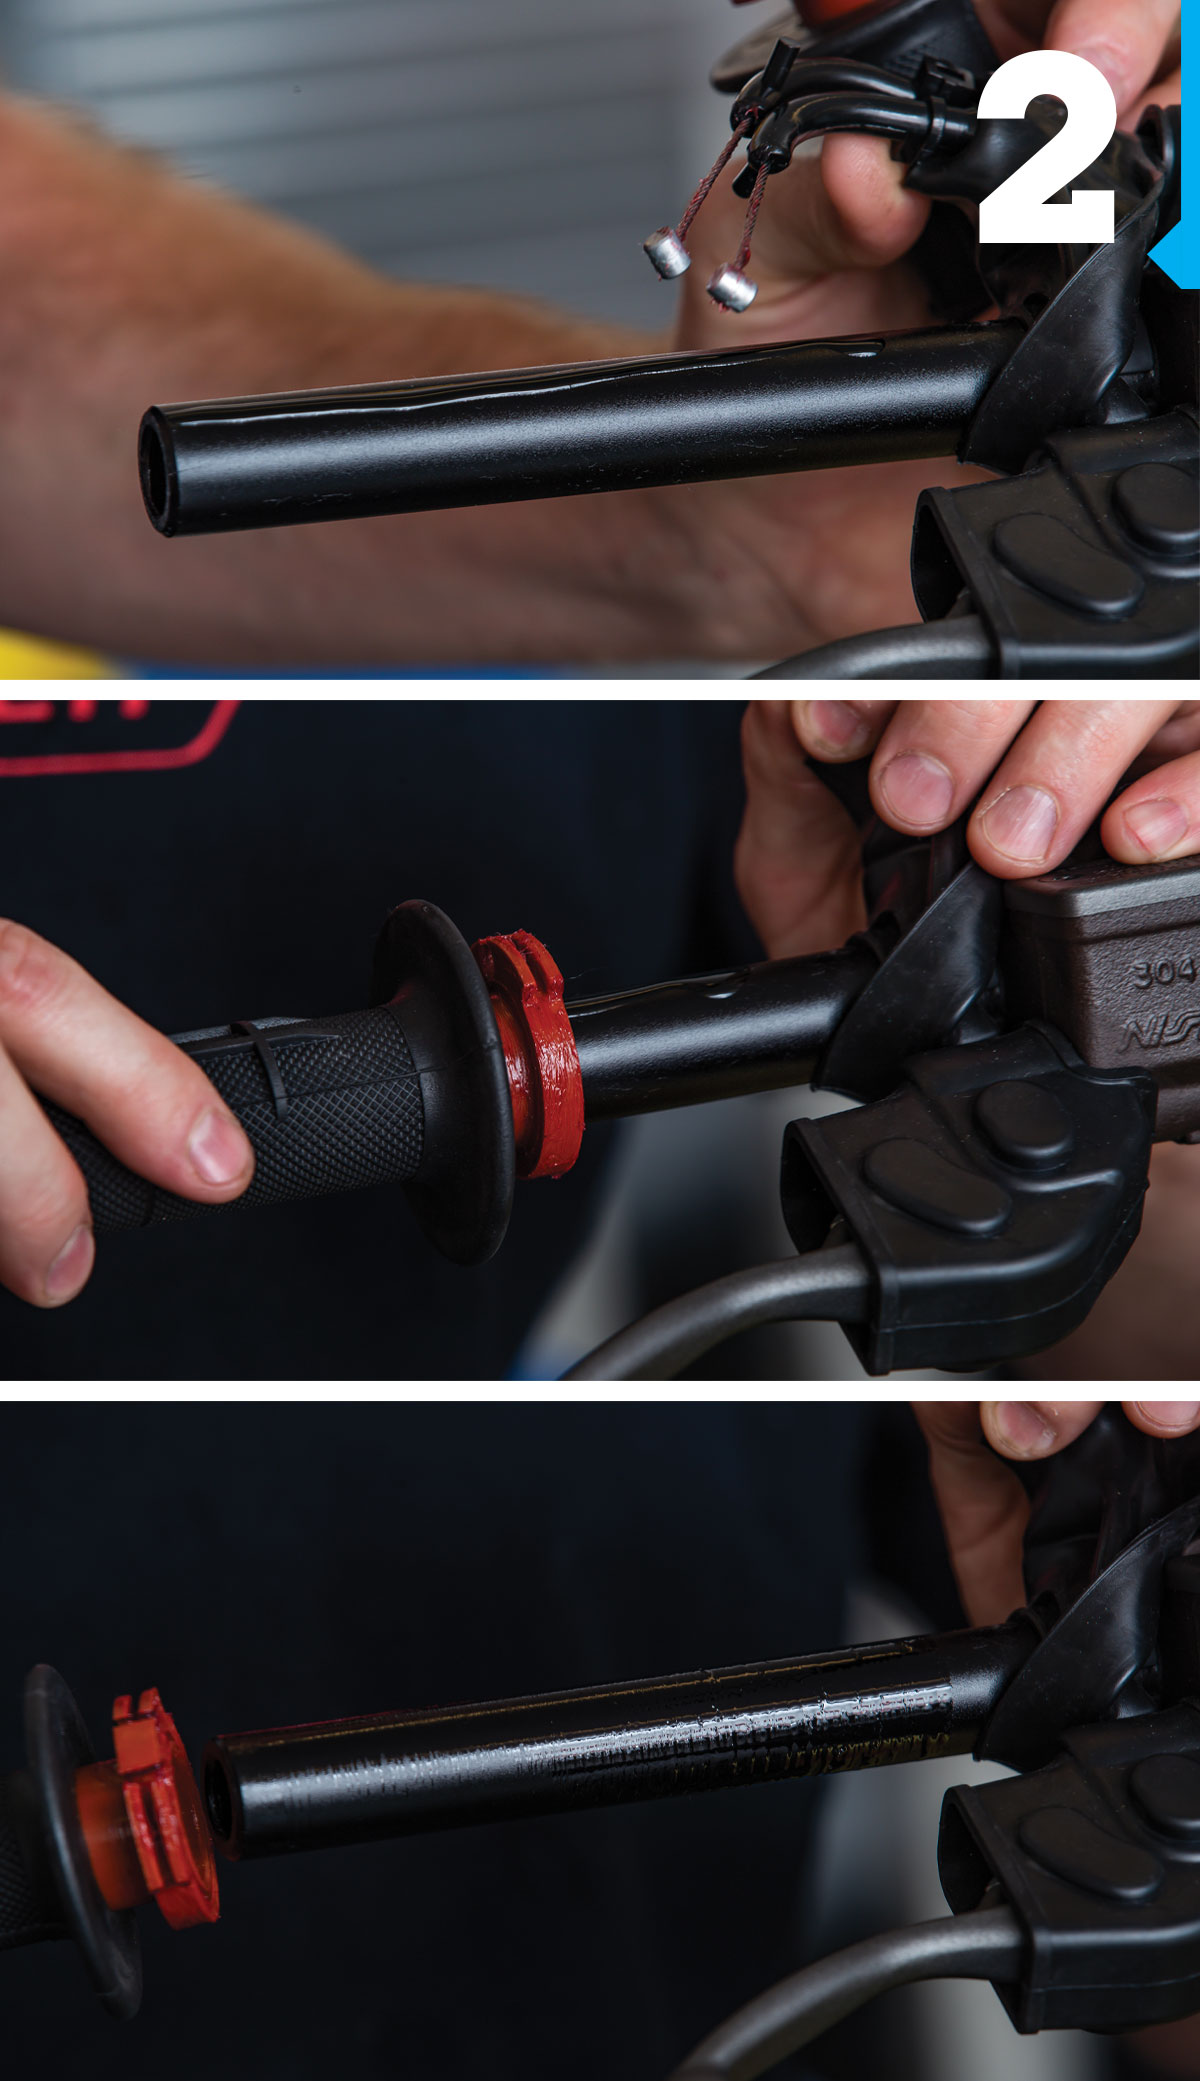
 Next was the throttle tube itself. We actually put a little bit of oil on the handlebar. You can use any kind of oil, but make it something thin—you don’t want thick grease under the throttle tube because it will dry out and attract a lot of dirt. Here we just used a 10W30 motor oil. Then we installed the throttle tube onto the bar and rolled it so all the oil worked all the way around the end of the handlebar and throttle tube.
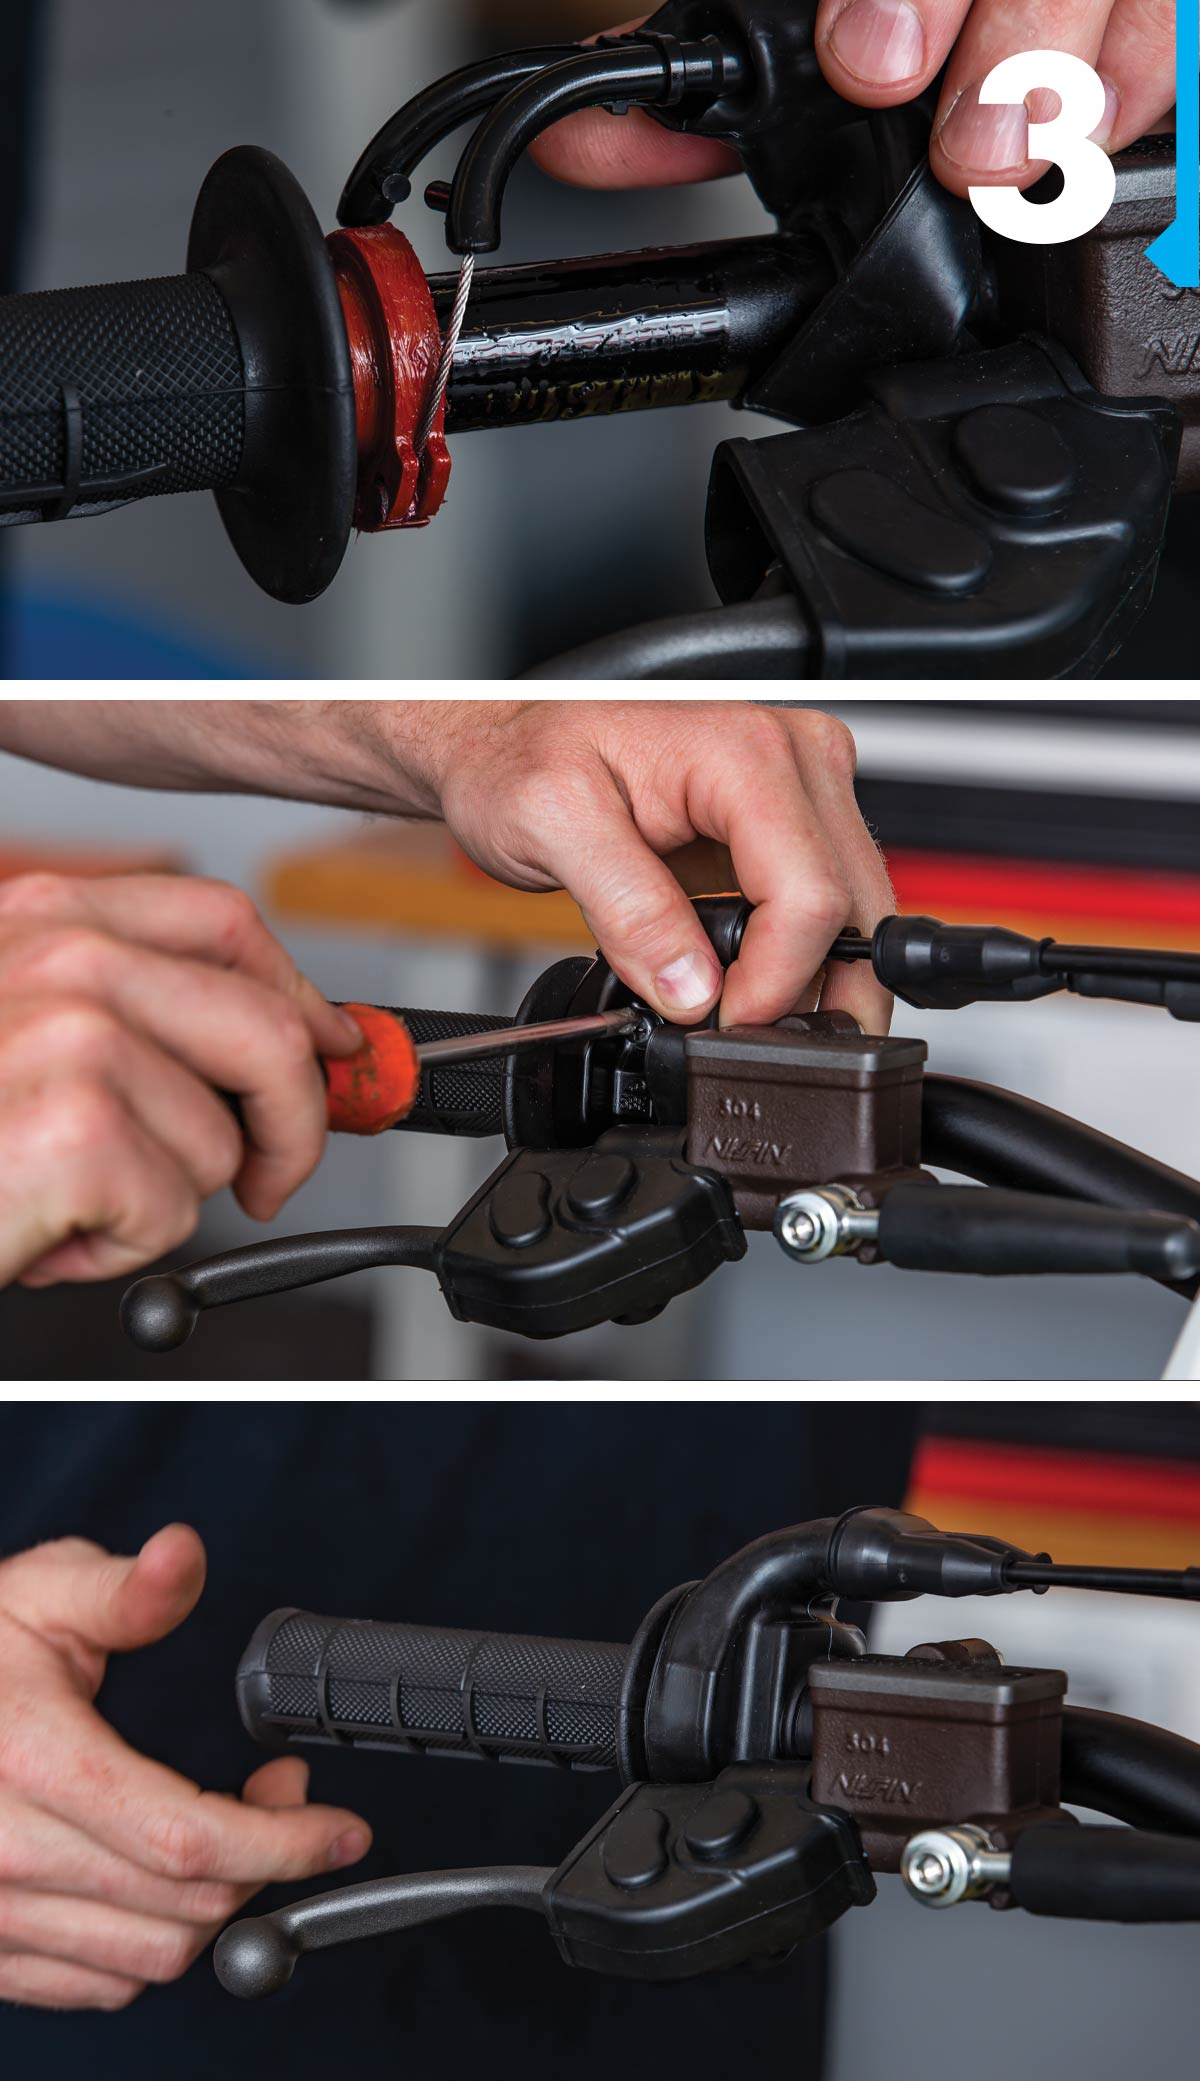
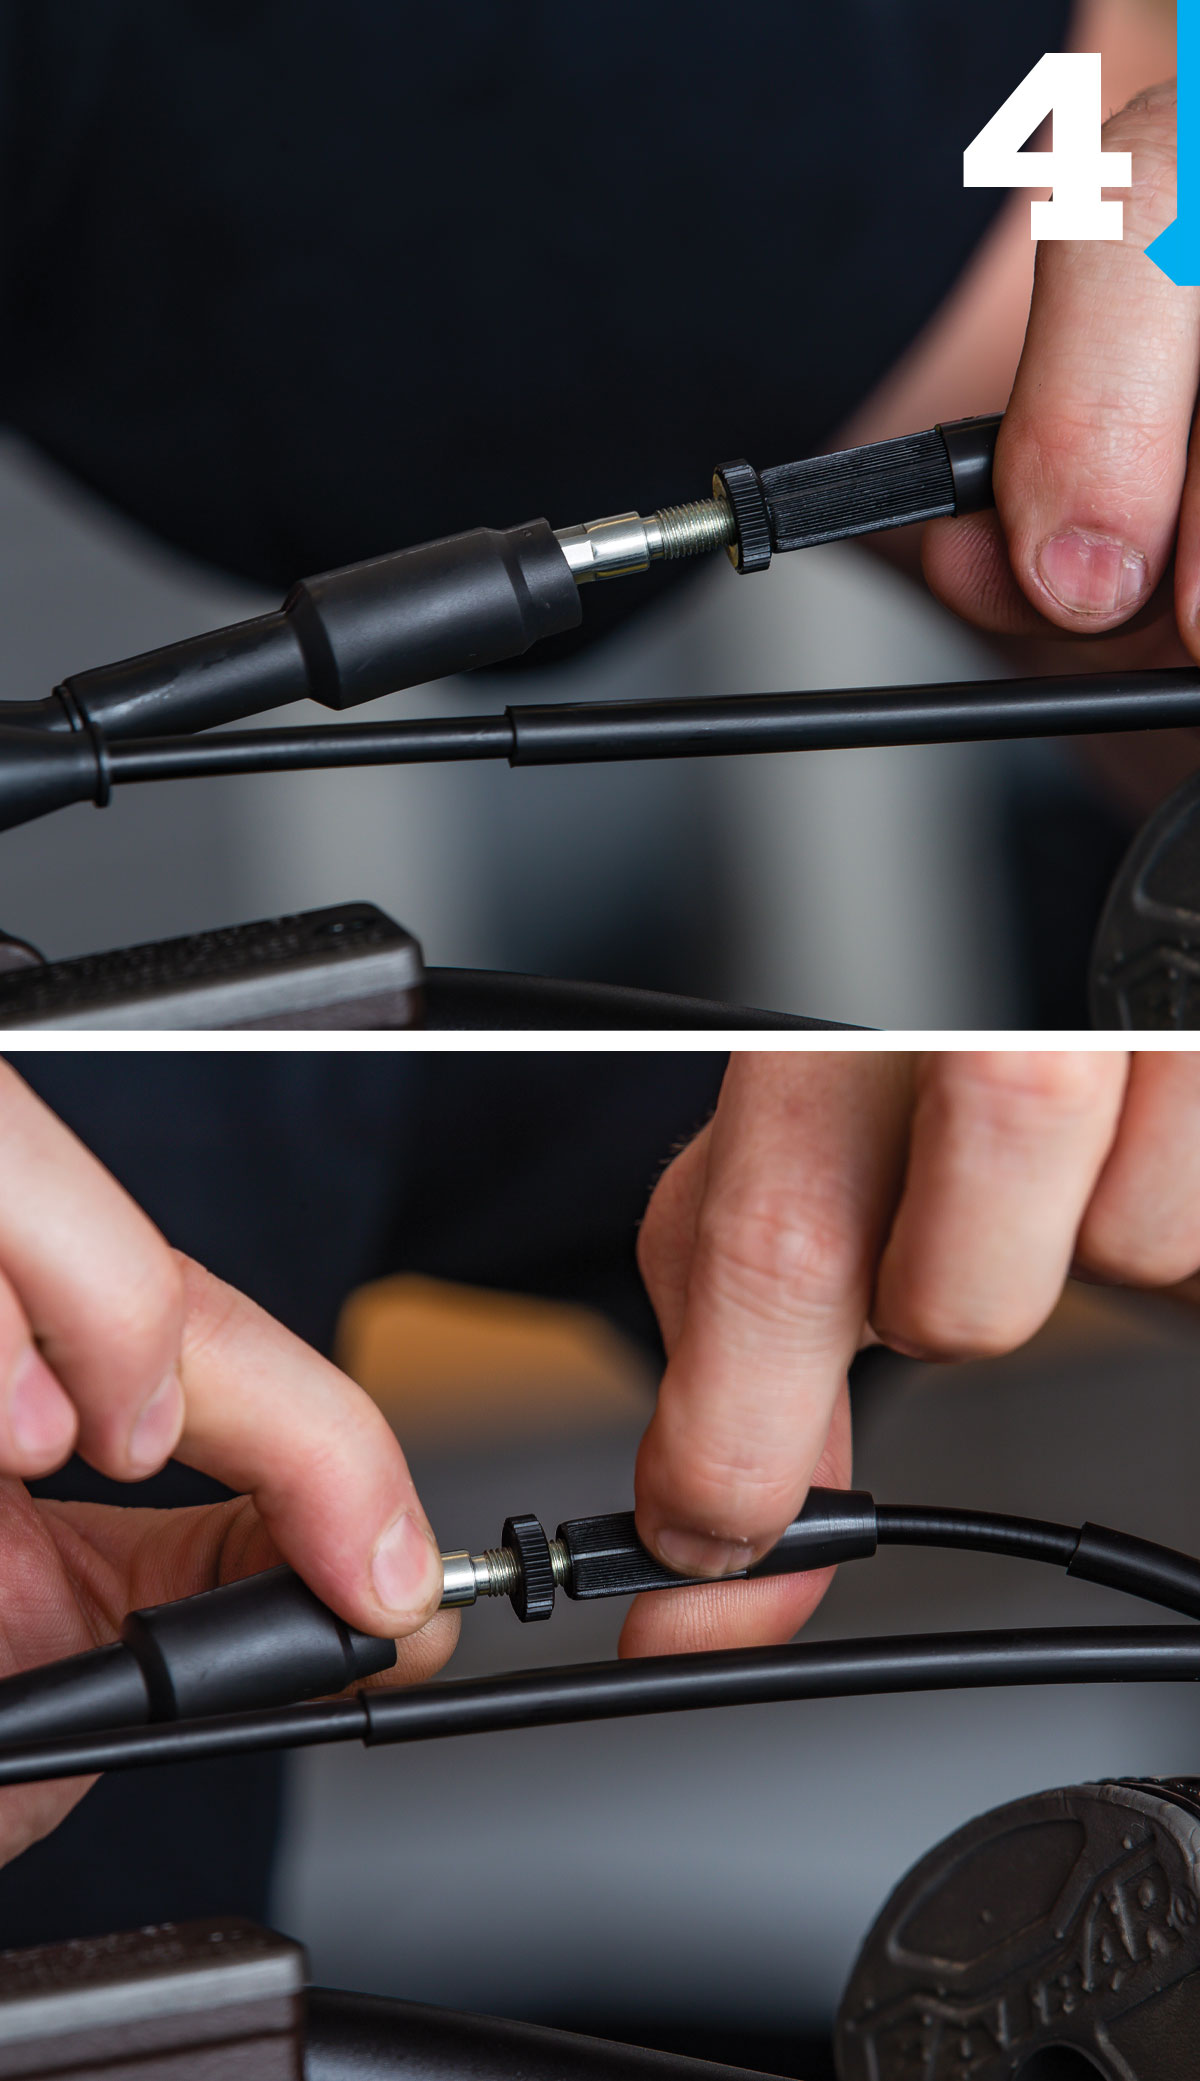
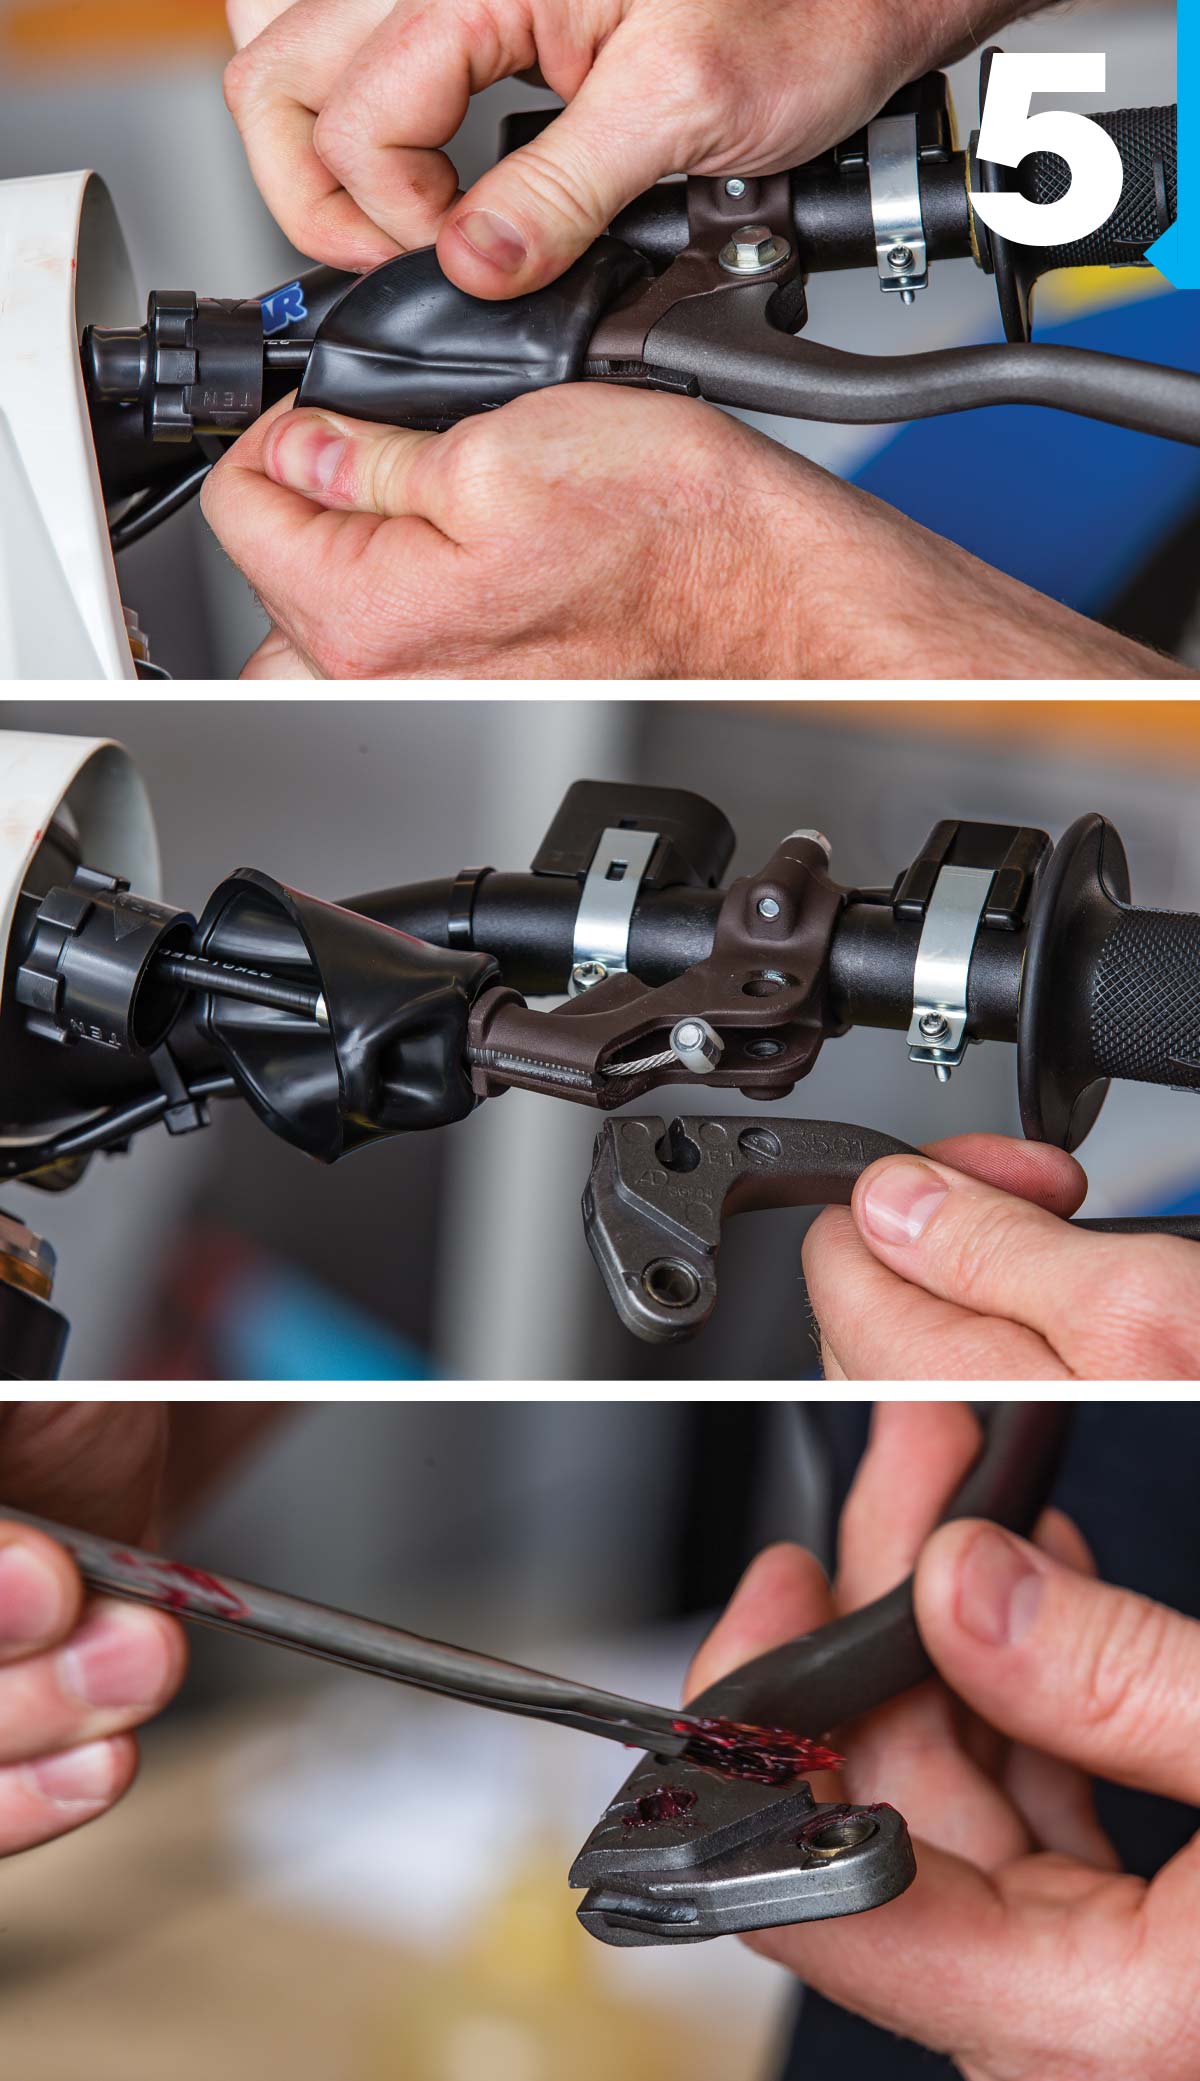
 Be careful when you reinstall your cables—a lot of people get this backward or can’t figure out which cables go where. One of the easiest ways to reinstall the cables is to look at the two holes in the throttle tube where the cables go; point that straight down and then hold your cables as they come off the bike and just line them up. Once you reinstall the housing, you can always use the rubber boot to help hold the housing together while you get your screwdriver and get your screws installed. Then I like to go anywhere from 1/16” to 1/8” of free play on the end of the throttle tube. You don’t want the tube end too far or it will rub the end of the handlebar and cause your throttle tube to drag.
 Once you have the free play set, you can move up and set the free play in your throttle cable itself. If you like a lot of free play, run the adjustment in. If you don’t, pull that adjustment out. Then don’t forget to retighten the jam nut on the cable itself, otherwise it could move.
 Then we moved over to the clutch side. We went ahead and took the lever off and greased it where the cable actually rides. We also greased the lever where it touches the clutch perch itself. If you don’t, the lever will rattle or be really hard to pull in, and that pumps up your arm a lot faster. We then greased the perch and reinstalled the lever into the perch itself with the cable.
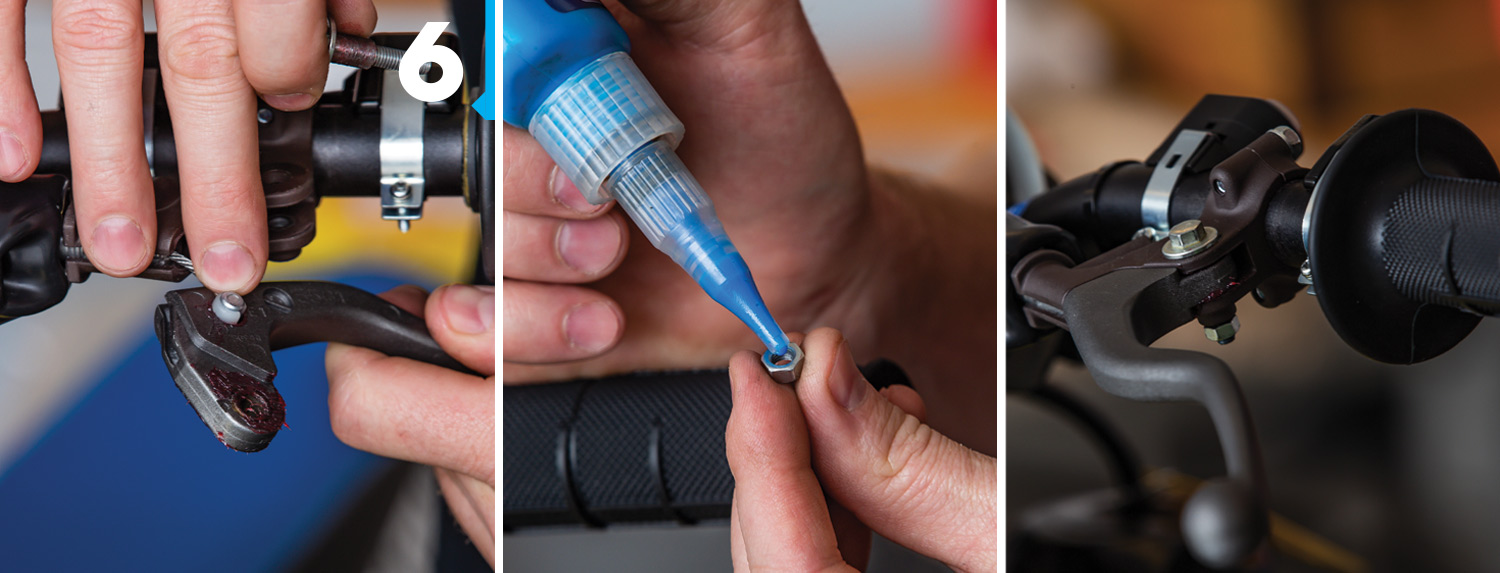
 Then we greased the bolt and ran it back down through. On the bottom of the clutch perch that holds the lever on, we reattached the nut. I like to put blue Loctite on that nut, because a lot of times it’s not a locking nut, so it could vibrate loose or come off altogether. The free play on your clutch should be around 1/2” at the lever ball.
There you have it! Once you get these tasks completed, you’ll be really impressed with how well your controls work. It really does make a big difference. ![]()

